This document is not up-to-date, please refer to the Japanese document.
Set-up
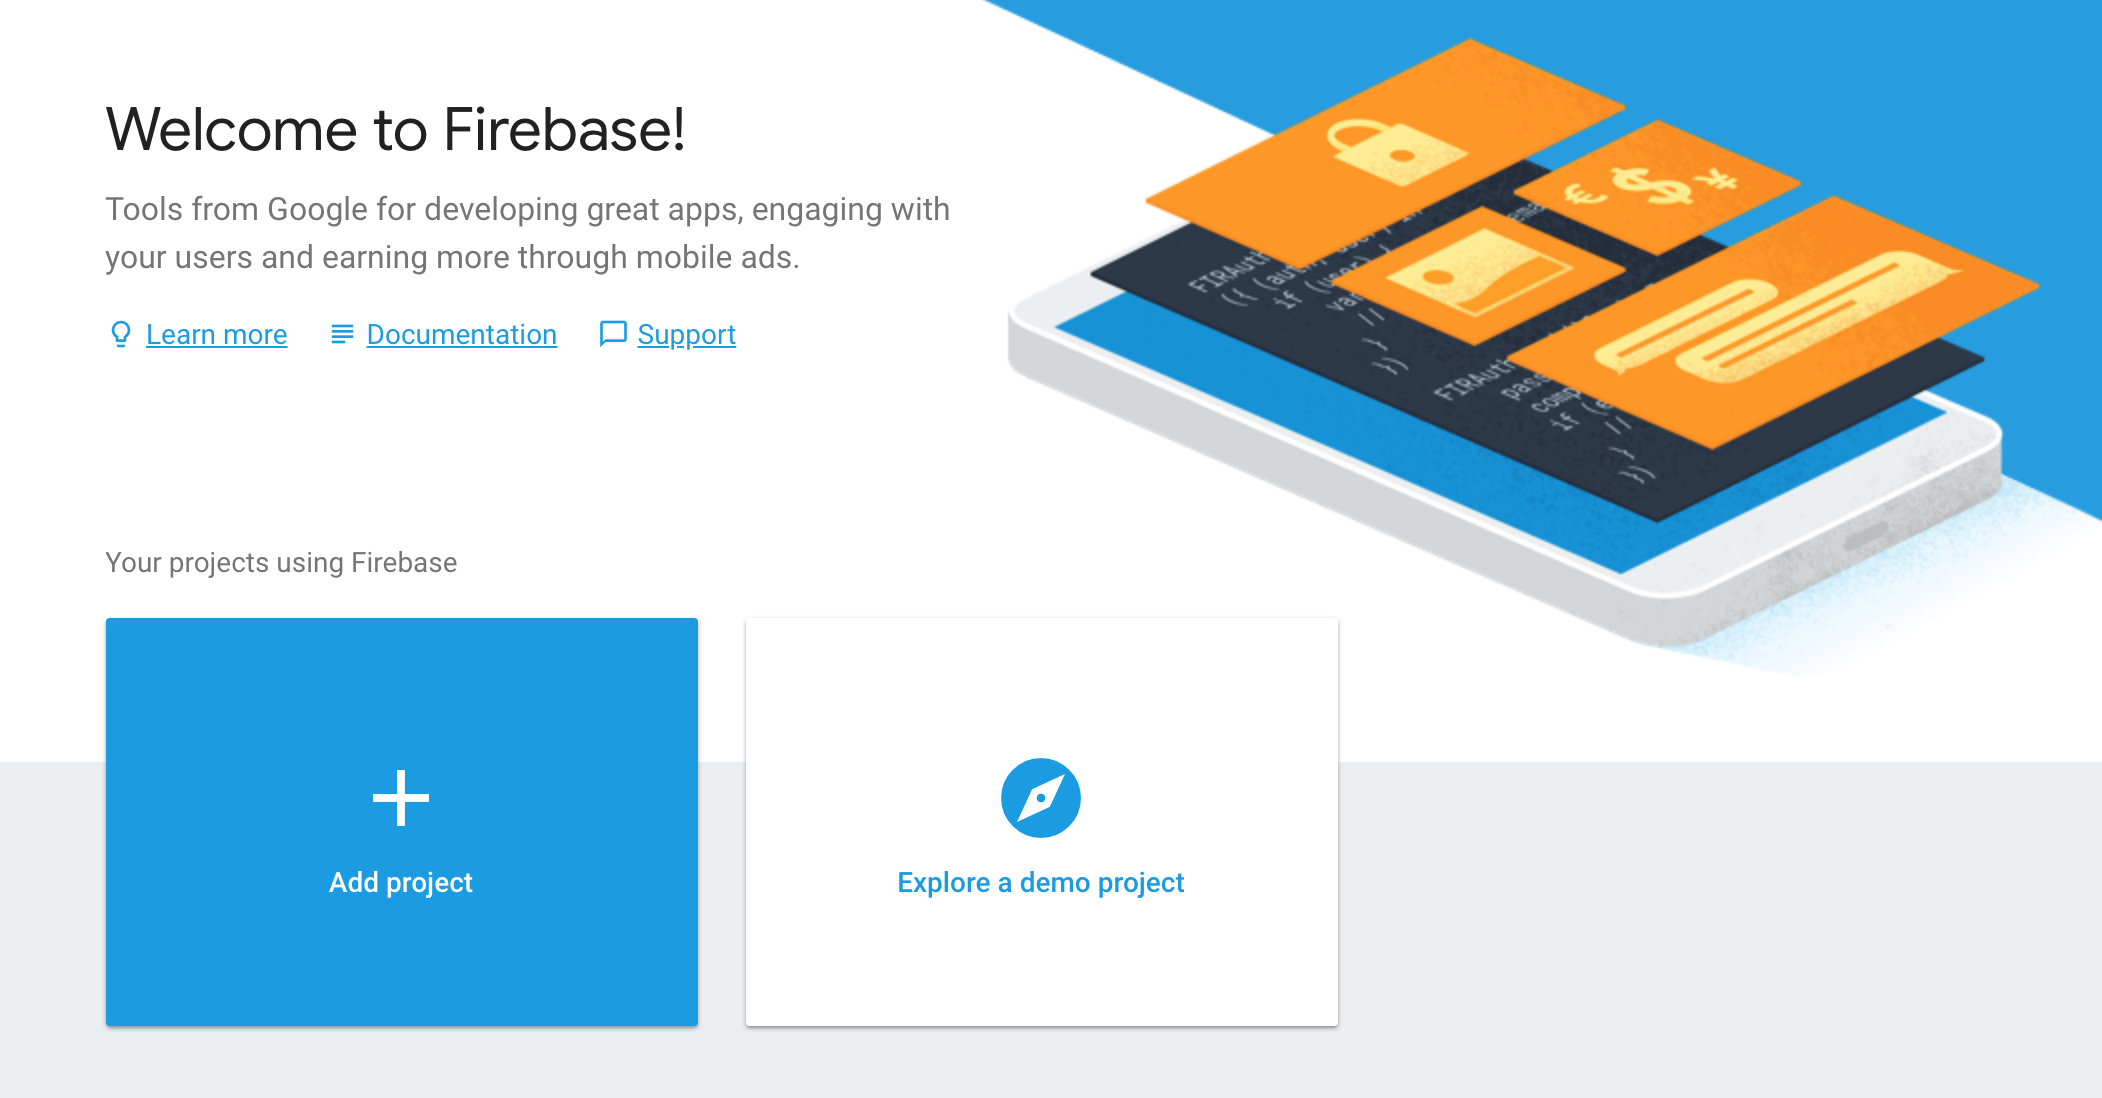
Register at https://firebase.google.com/.
Once you are registerd and logged in click on add project.
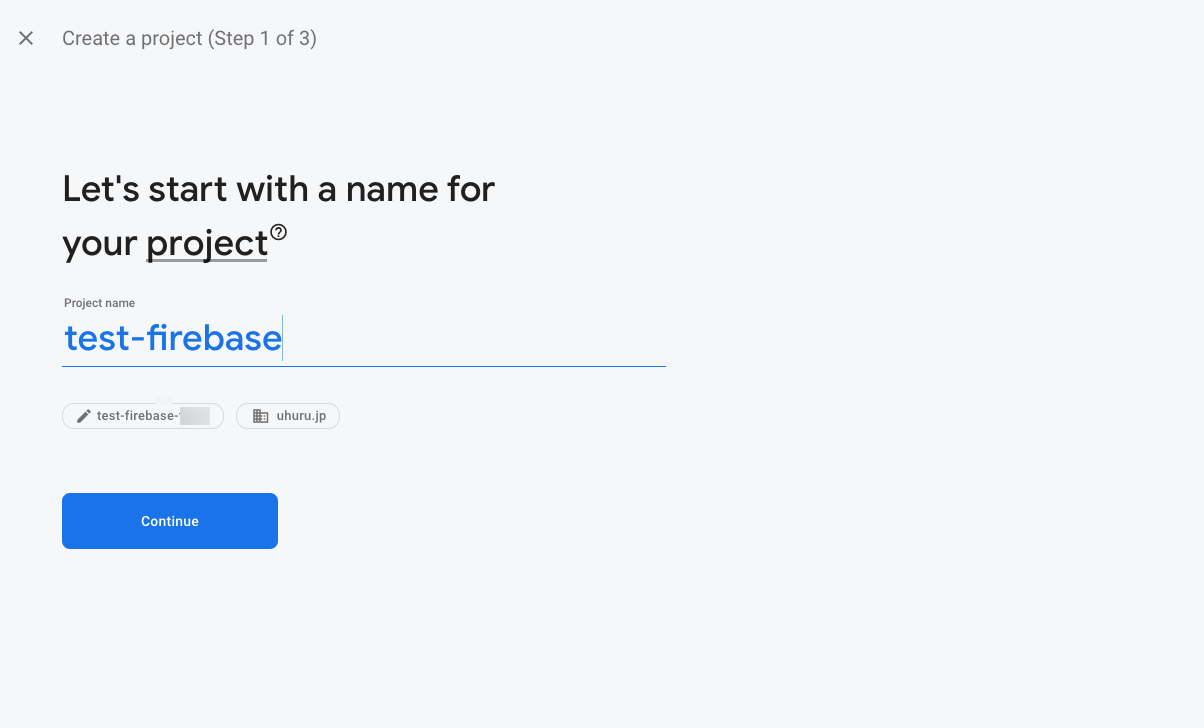
Enter an optional project name and click [Continue].
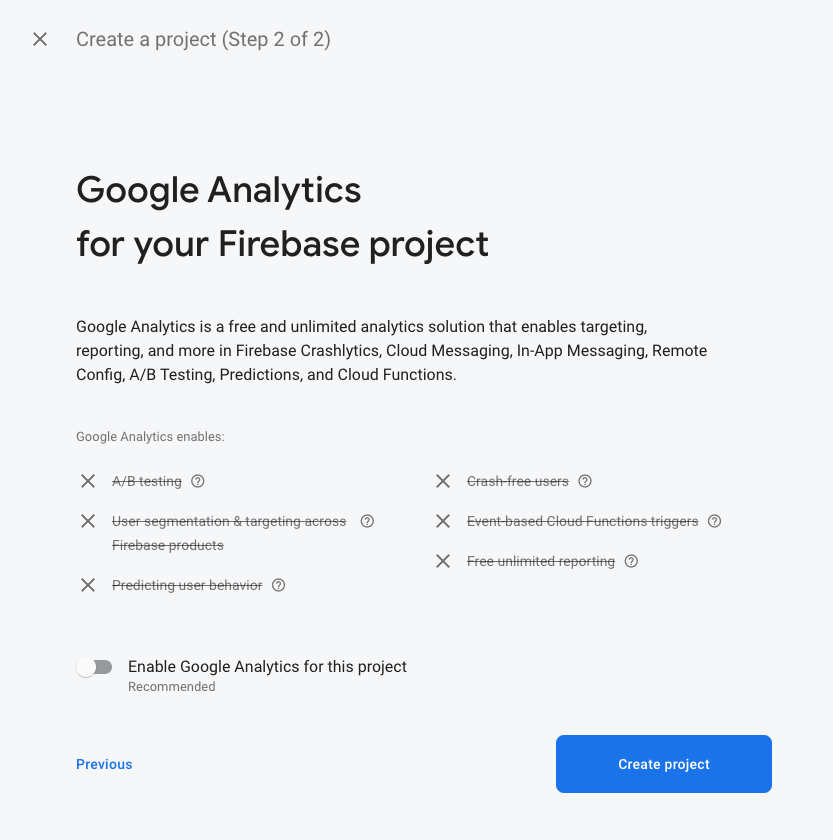
A Google Analytics for your Firebase project screen will appear. Un-check the field Enable Google Analytics for this project. Click the Create a new project button to create a new project.
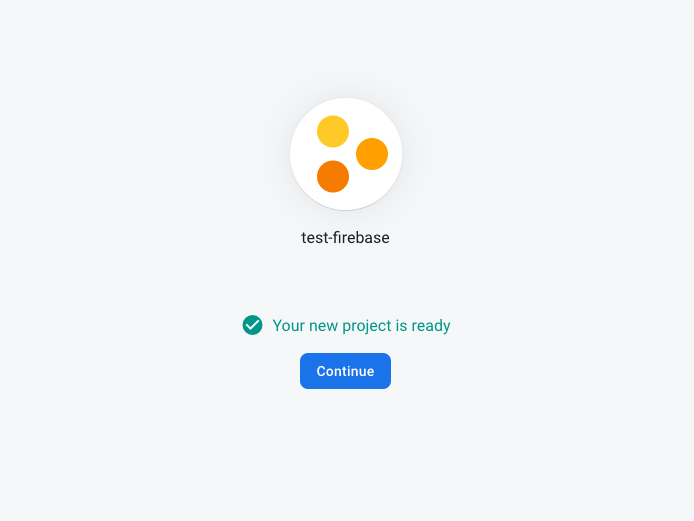
The message “Your new project is ready” will be displayed when the project has been created. Click the Continue button.
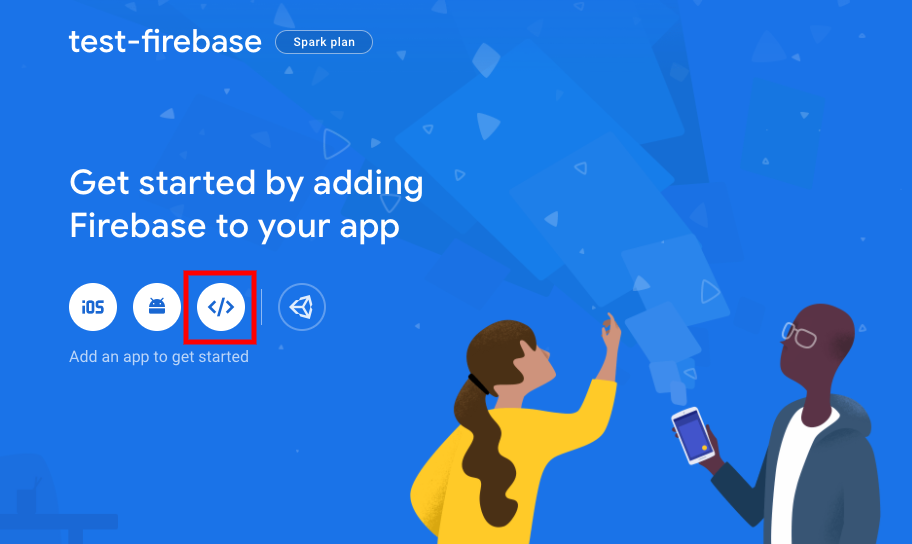
The project console screen will appear. Click the </> icon as in the picture.
The “Add Firebase to Web App” screen appears. Enter test in the register app field and click the Register App button.

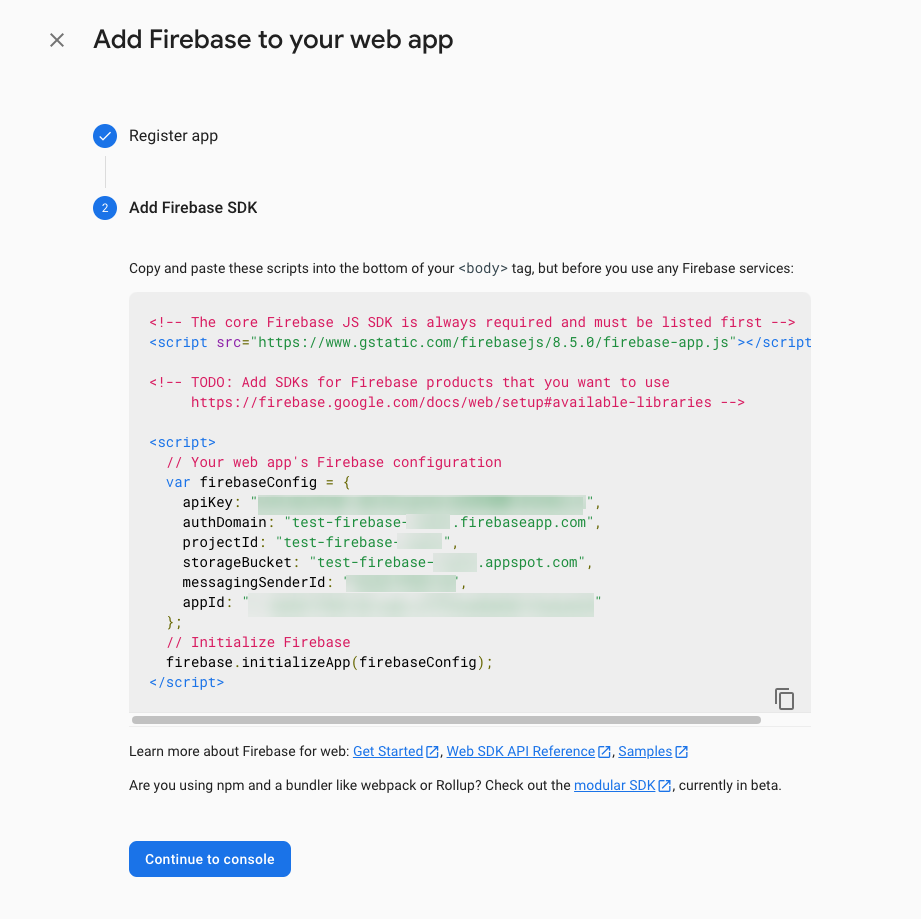
The settings script screen will appear. This will be used later. Copy and paste it to somewhere and click the Proceed to console button.
Authentication
Before creating a flow, the application authentification setting must be performed.
This time, anonymous authentication is used.
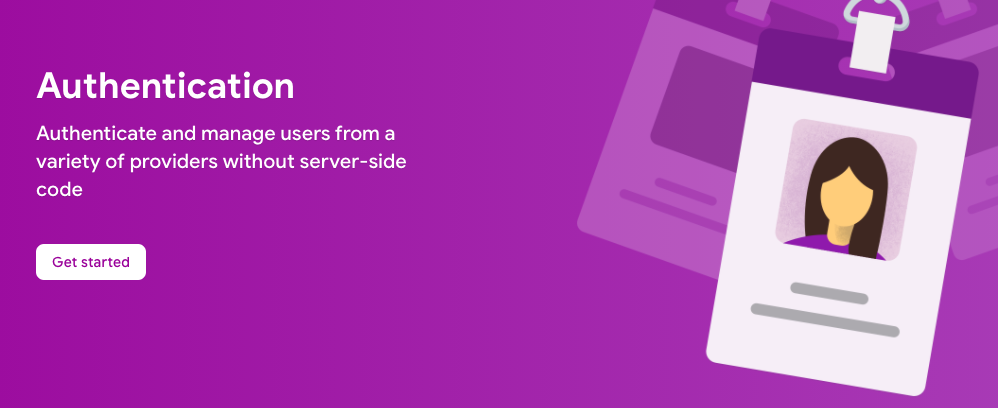
Click Authentication in the console screen.

Click Get started.
At the authentication screen click on Sign-in method.
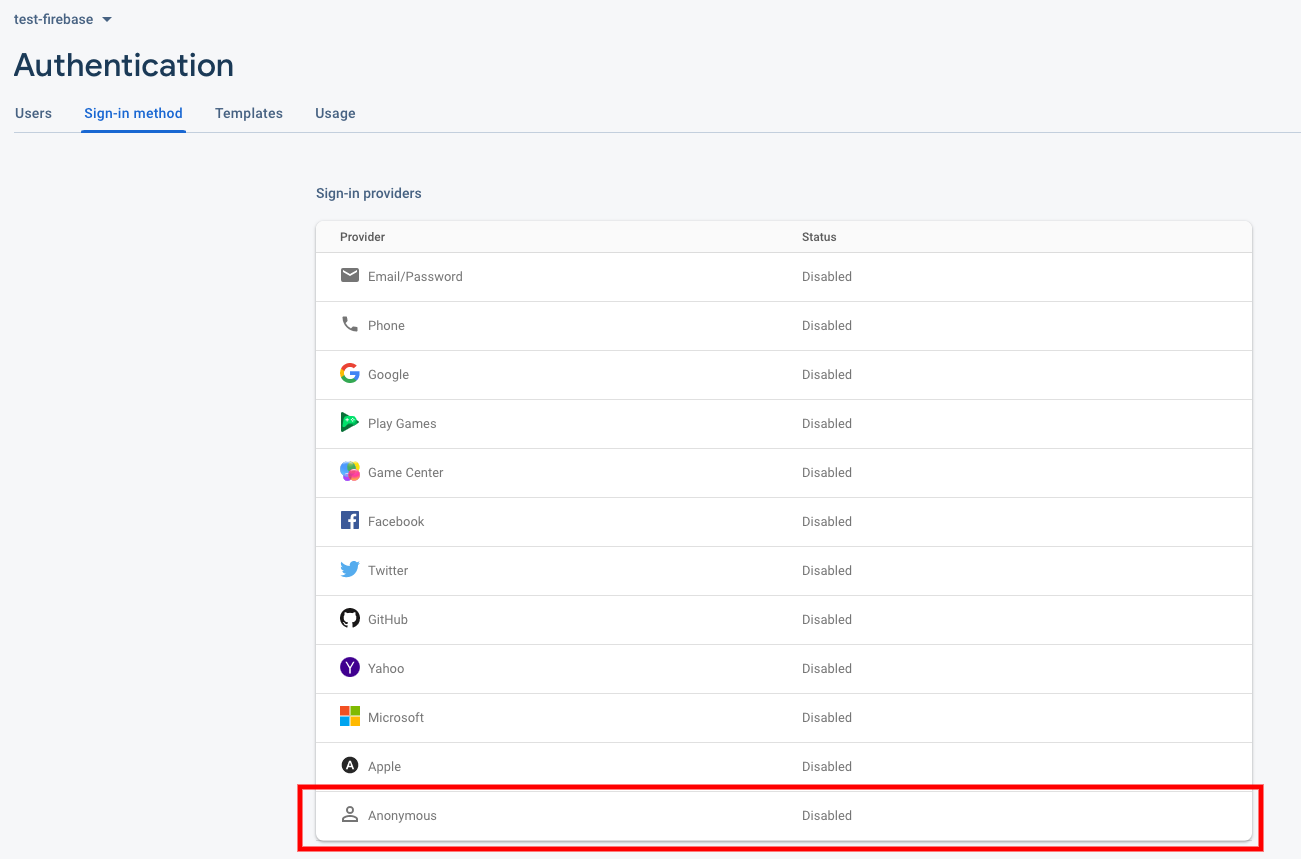
Select Anonymous, turn the enable switch on and click save.

Confirm that Anonymous is enabled.

Set up Realtime Database
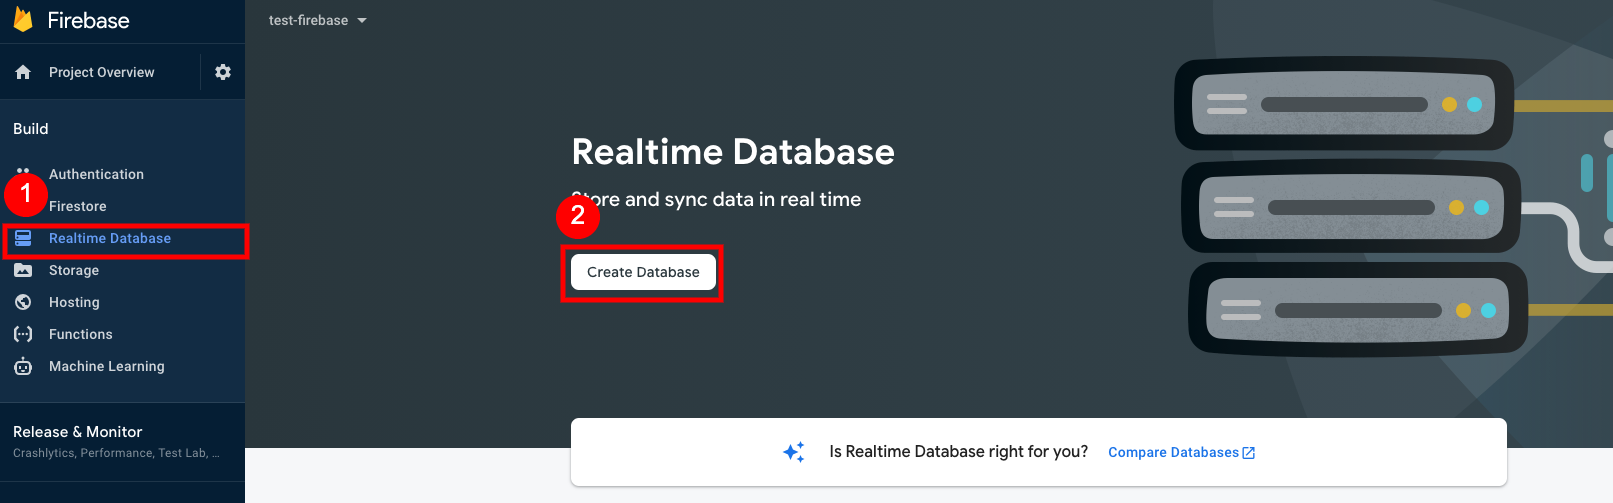
Next, click Realtime Database from the menu on the left and then click Create Database from Realtime Database.
Leave the database options as they are and click next.

Select Begin test mode and click Enable.

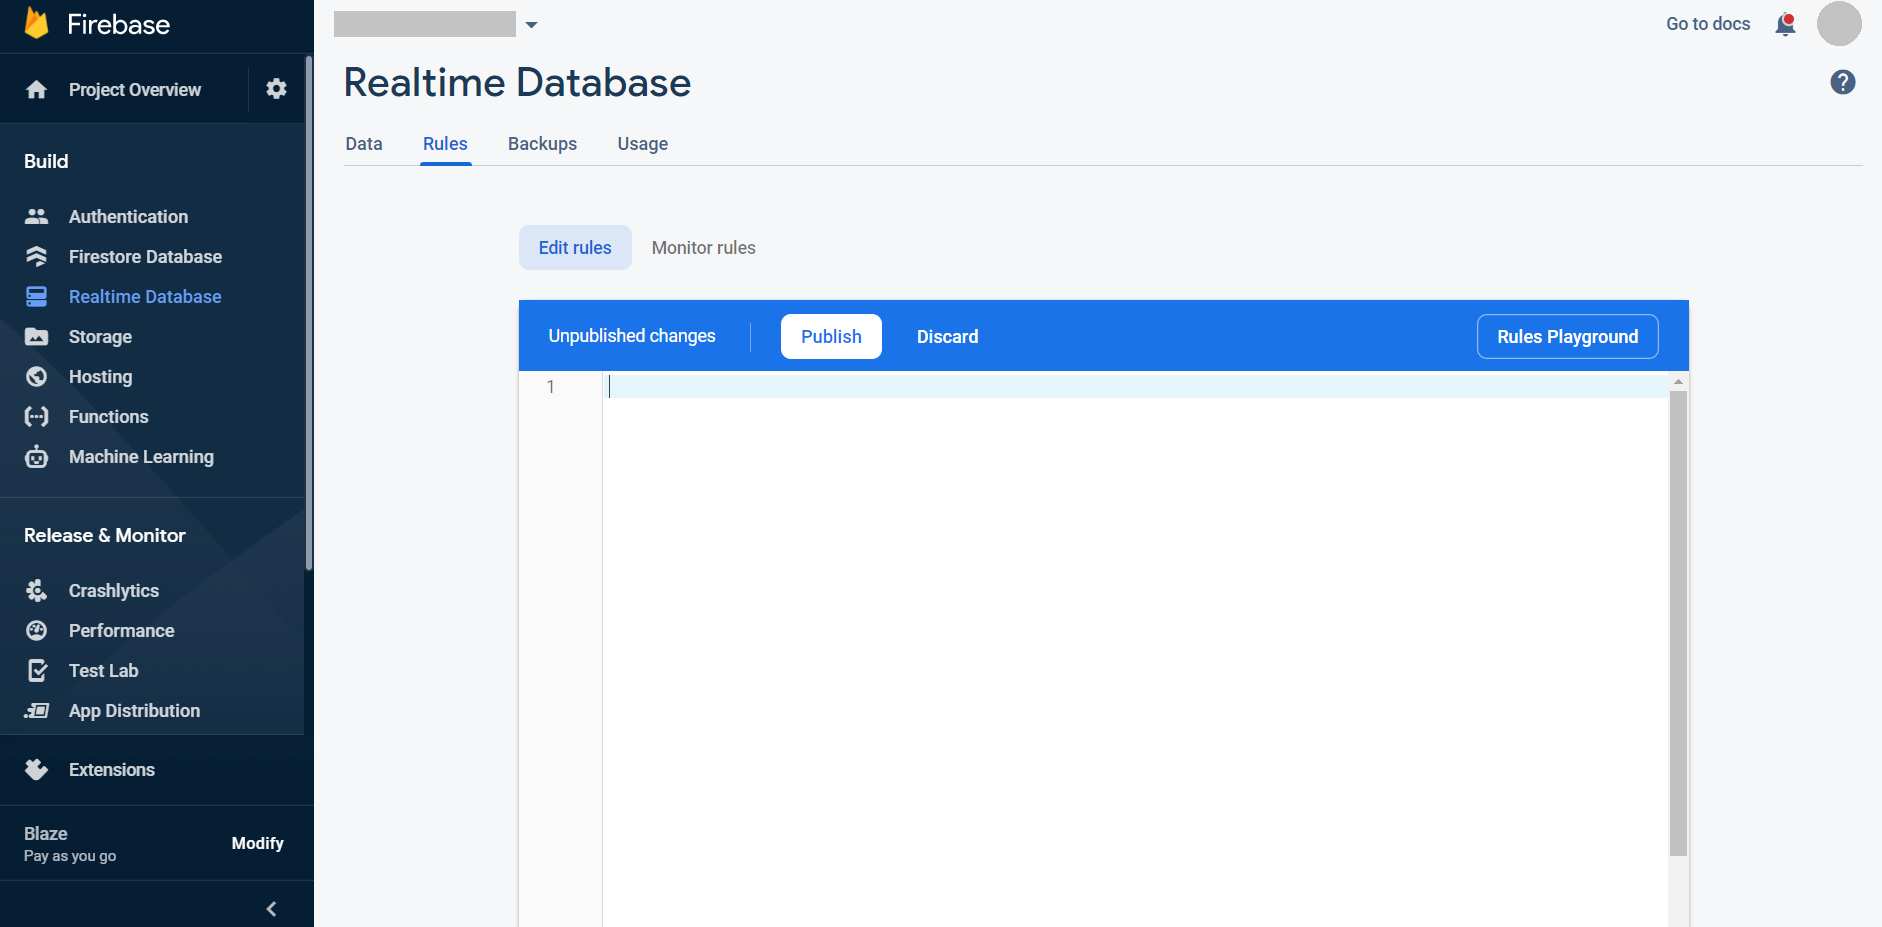
Select Realtime Database > Rules > Edit rules.
Paste the following rule onto the form and publish it.
{
  "rules": {
    ".read": true,
    ".write": false,
    "test": {
      ".indexOn": "ts"
    }
  }
}
* Replace "test" with the path where you want to store the data in the Realtime Database.
* Replace "ts" with the key name stored as a timestamp in the Realtime Database.