This document is not up-to-date, please refer to the Japanese document.
Create Flows
The following covers how to create flows.
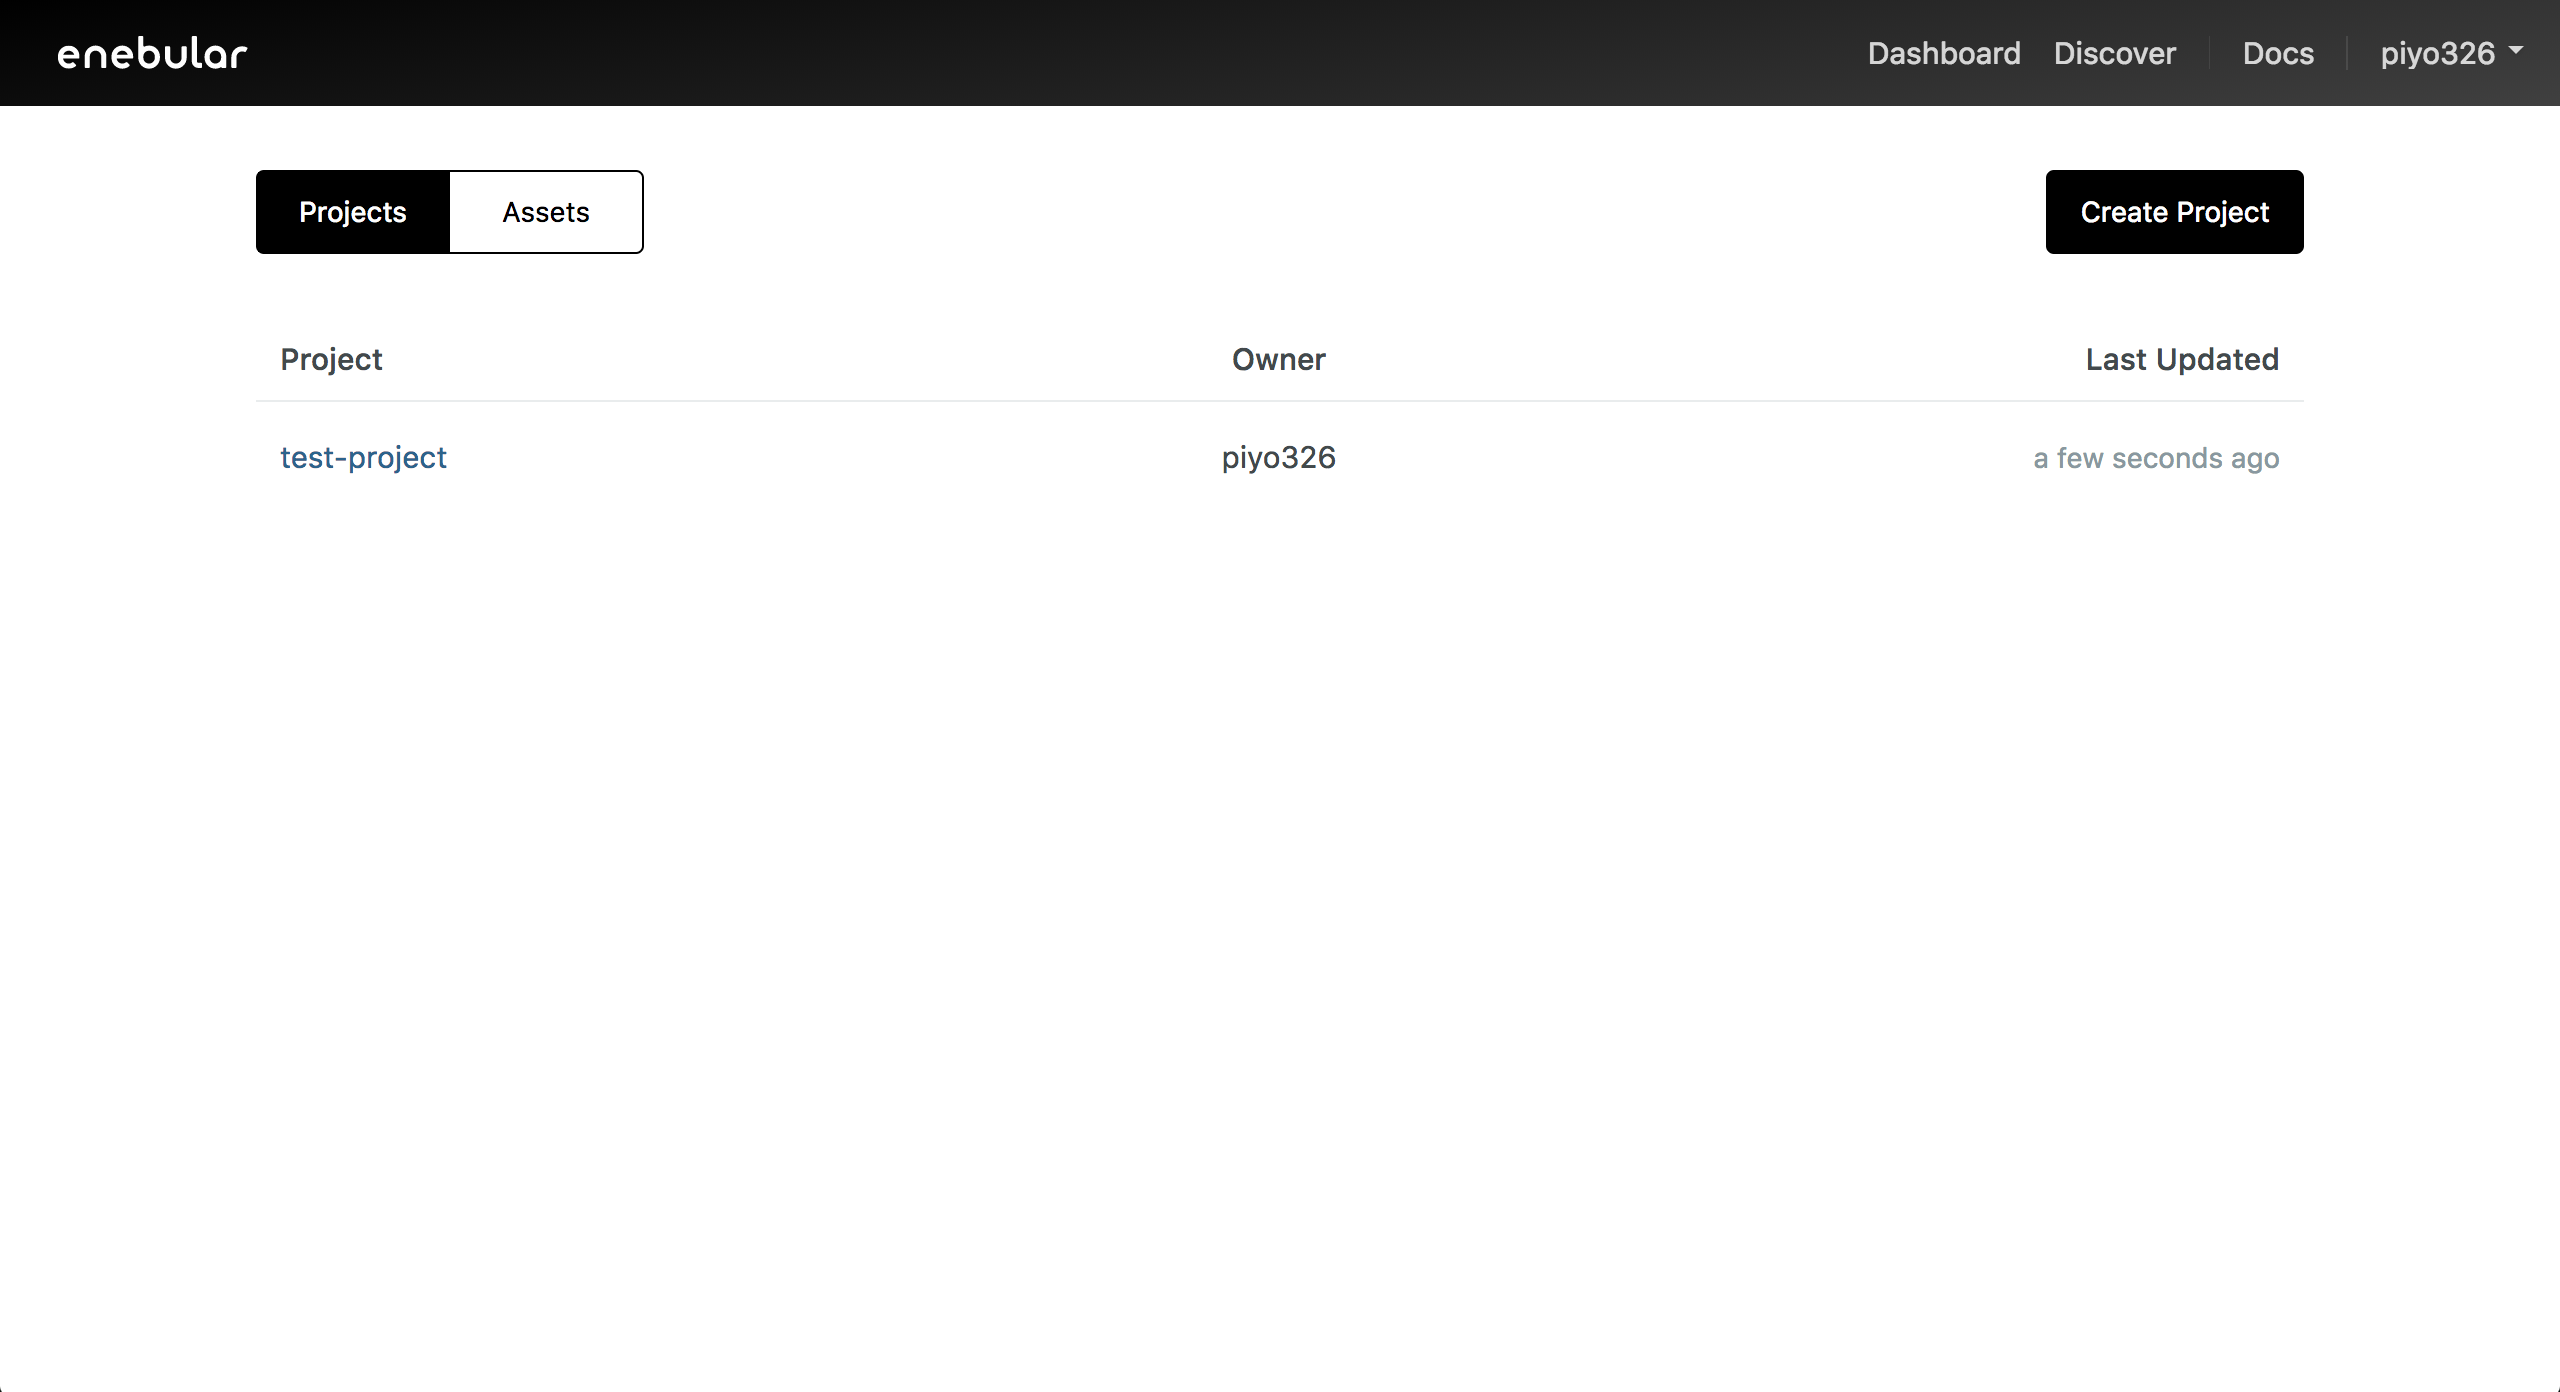
First, select a project from the project list and you'll be taken to the project management screen.
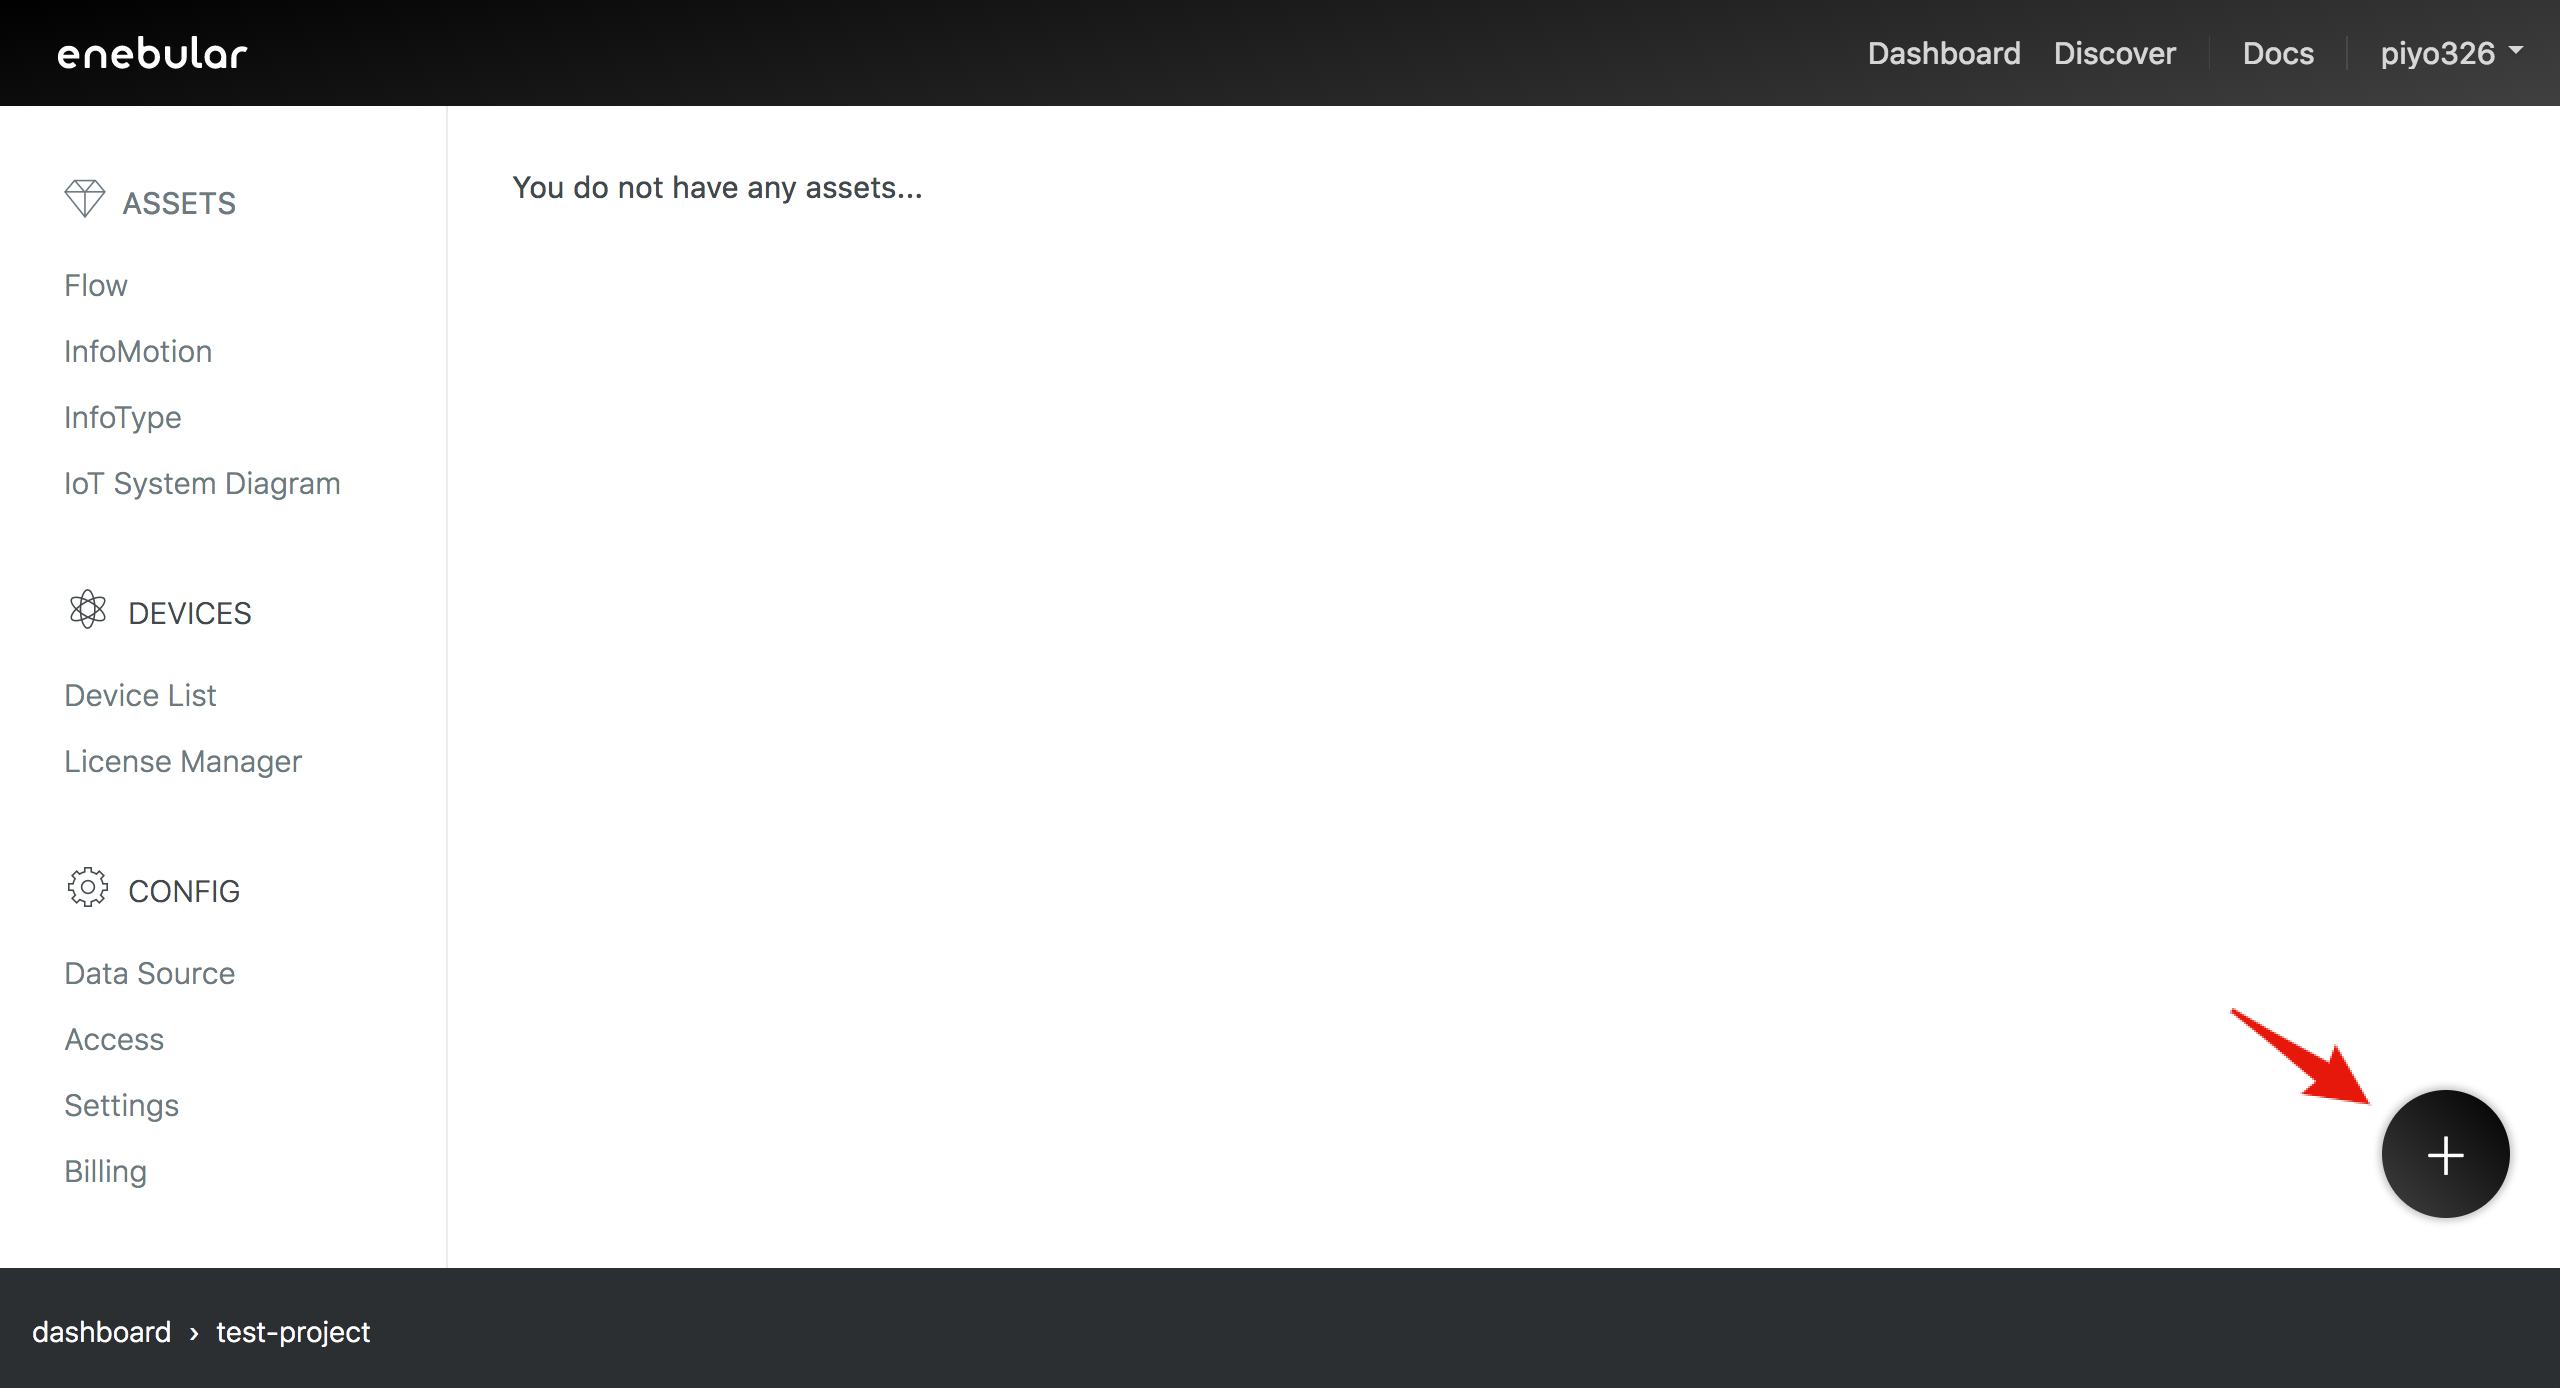
Open the dialog box with the "+" button on the bottom right.
Select "flow" for the asset type in the dialog box.

After selecting "flow", you'll be able to set the icon, title, privileges and category.
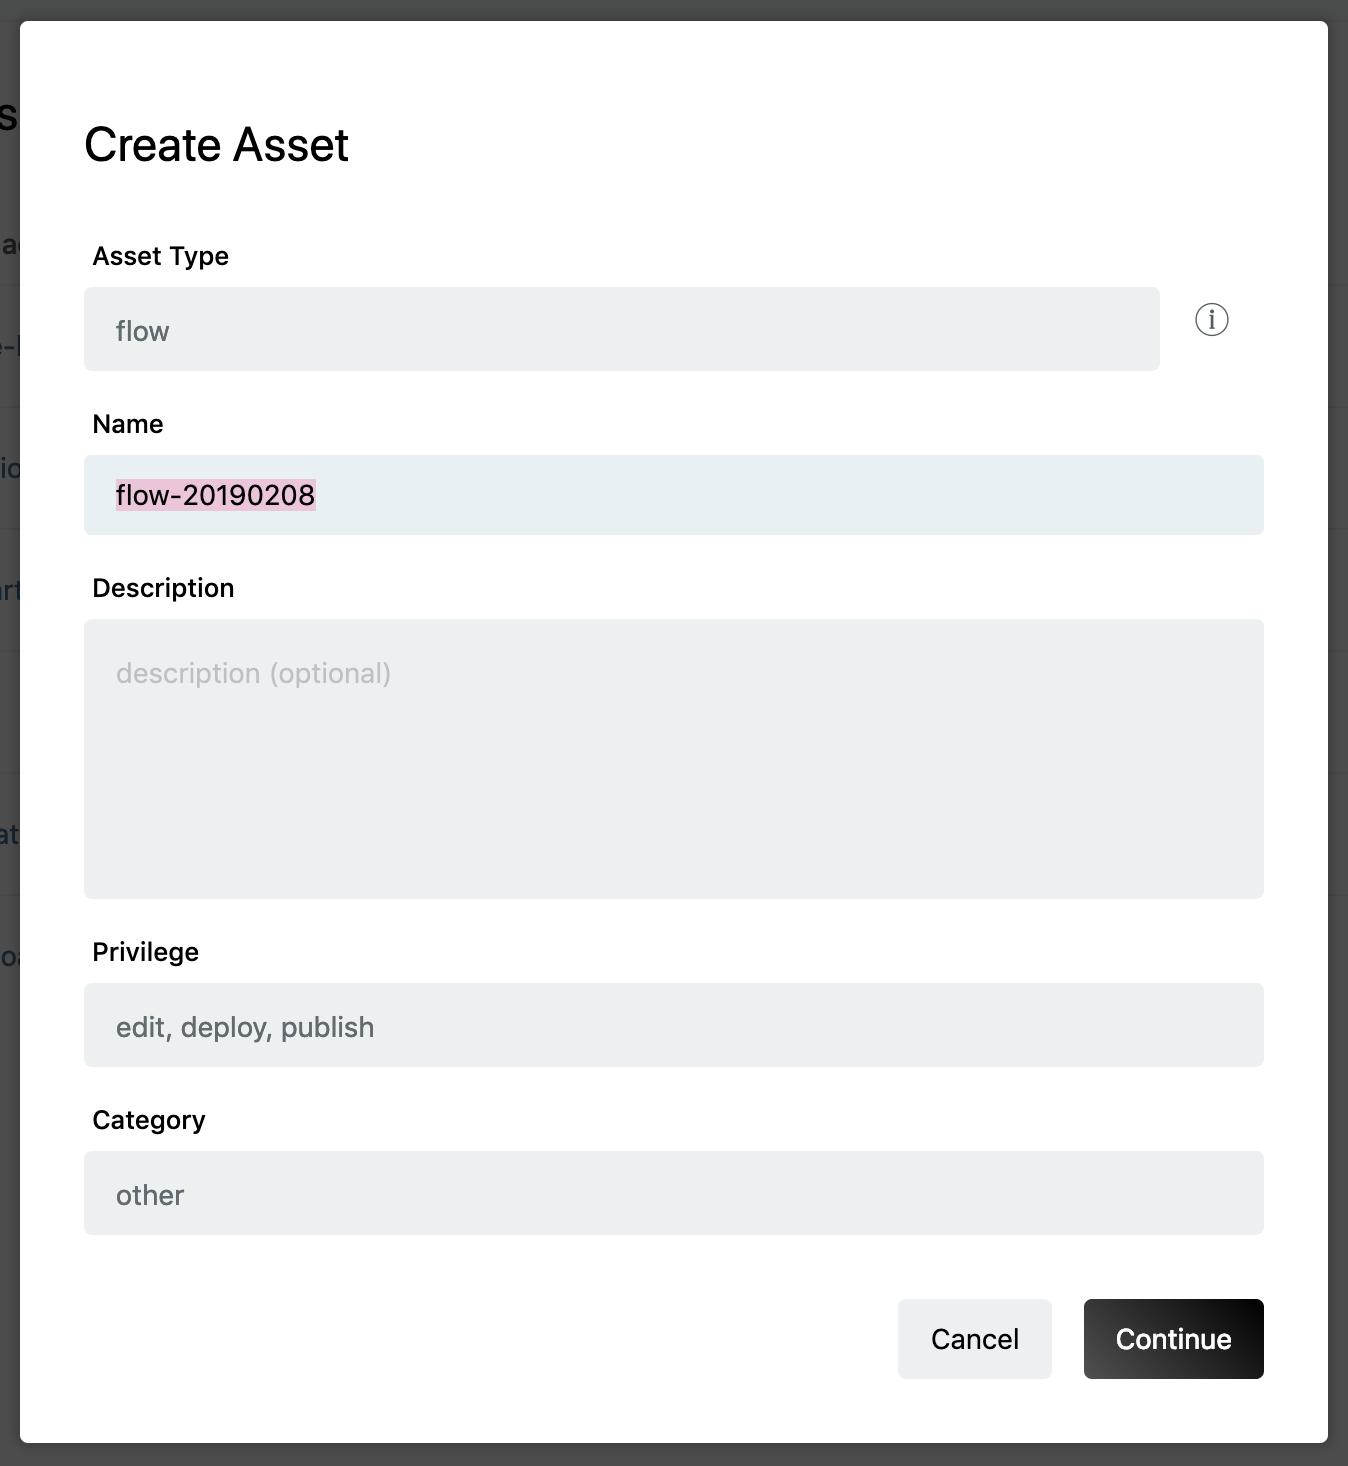
- Title
- An appropriate title for the flow
- Description
- This can be left blank
- Access Privileges
- edit, deploy, publish
- Category
- An appropriate category for the flow
Once you've completed the settings, click the "Continue" button.
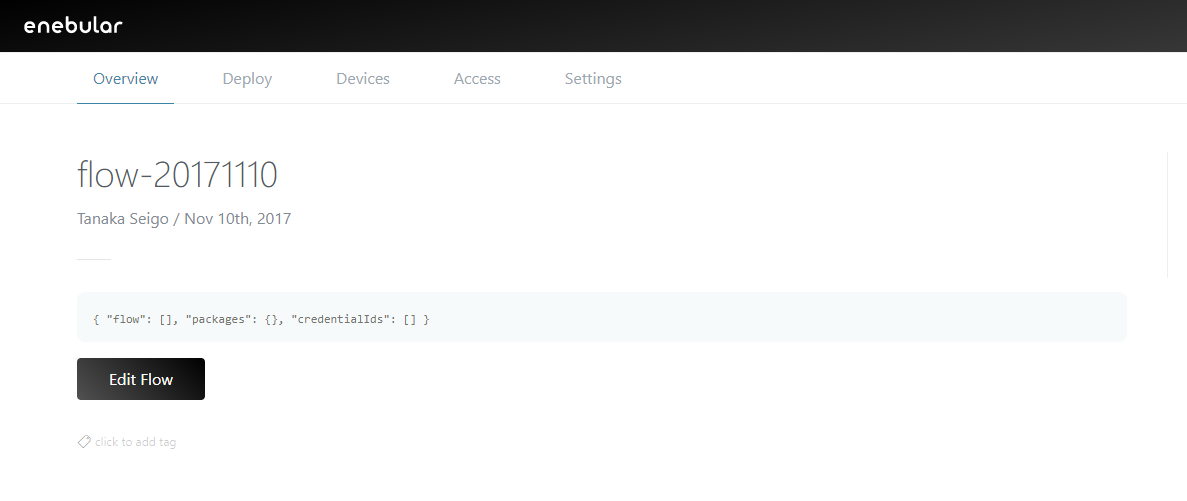
The flow has now been created.
Node-RED on enebular and enebular-agent does not support all nodes. Nodes developed by the open source community should be used at your own risk.
There is a particular restriction on available nodes for the enebular-edge-agent.For more details, enebular-edge-agent > Nodes.
Restrictions
Web Flow Editor is not an execution environment but a development environment.
The following are restrictions pertained to Web Flow Editor.
- A hardware dependent node cannot be used
- A node that depends on the development environment cannot be used
- A large size node cannot be imported and used
- Reloading may be repeated
- The generated URL is temporary
- Some native Node-RED keyboard shortcuts do not function properly
Node-RED Compatibility
Enabling or disabling a node
enebular v2.25.0 or higher is using Node-RED v1. It brings Node-RED Enabling or disabling a node feature. This feature can be used when deploying the flow to the following:
- Web Flow Editor (Node-RED 1.0.5 is used)
- enebular editor: 1.0.0 or higher
Please refer to Deploys for more information.