This document is not up-to-date, please refer to the Japanese document.
Flow Deployment
Deploying flows to various environments and operating systems is a feature of Enebular. This tutorial will do 'deploy a flow to Heroku'.(Time required 40 minutes)
To complete this tutorial you will need to understand how to create an Asset(Flow) and registered Heroku.
Table of Contents
Ready to deploy flow to Heroku
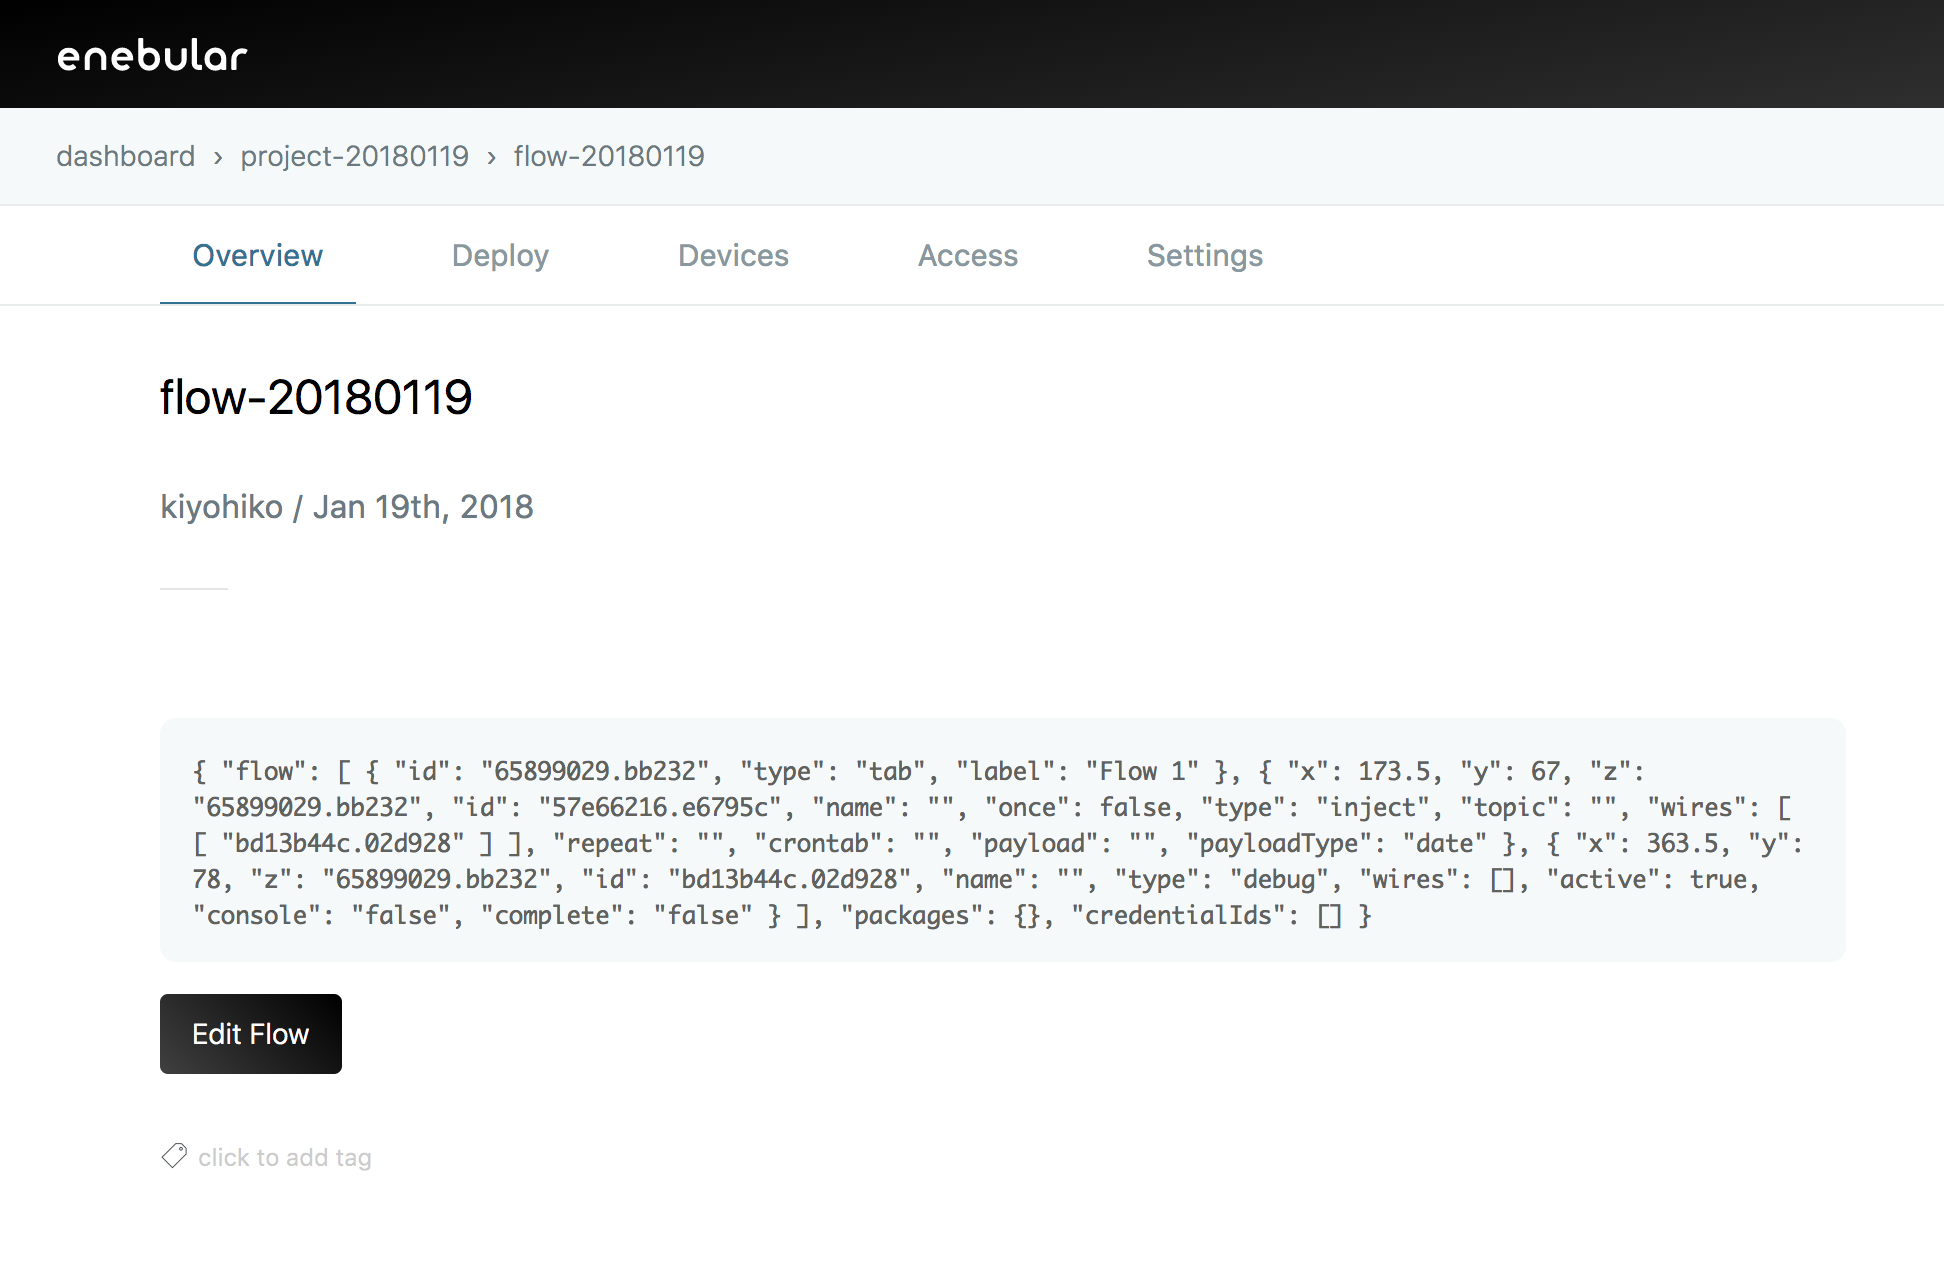
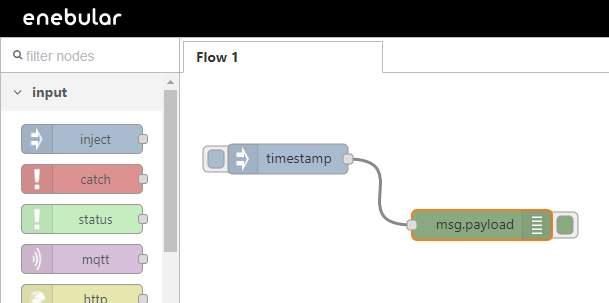
Create flow (If flow has already been created, it can also be used).

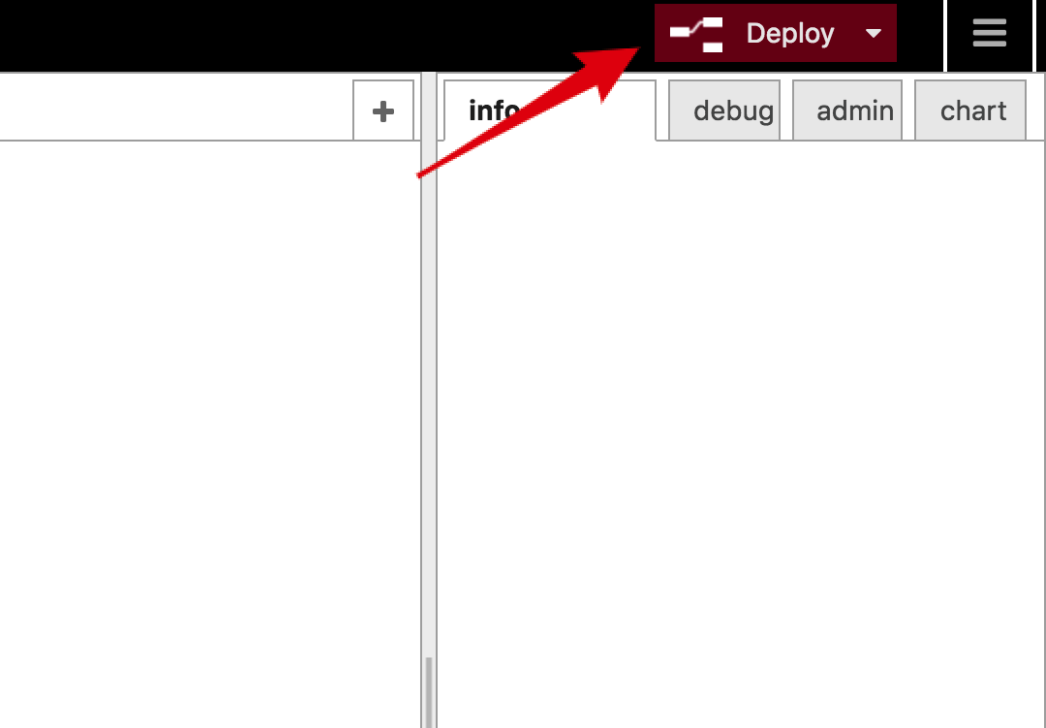
Click on the "Deploy" button to save the flow.
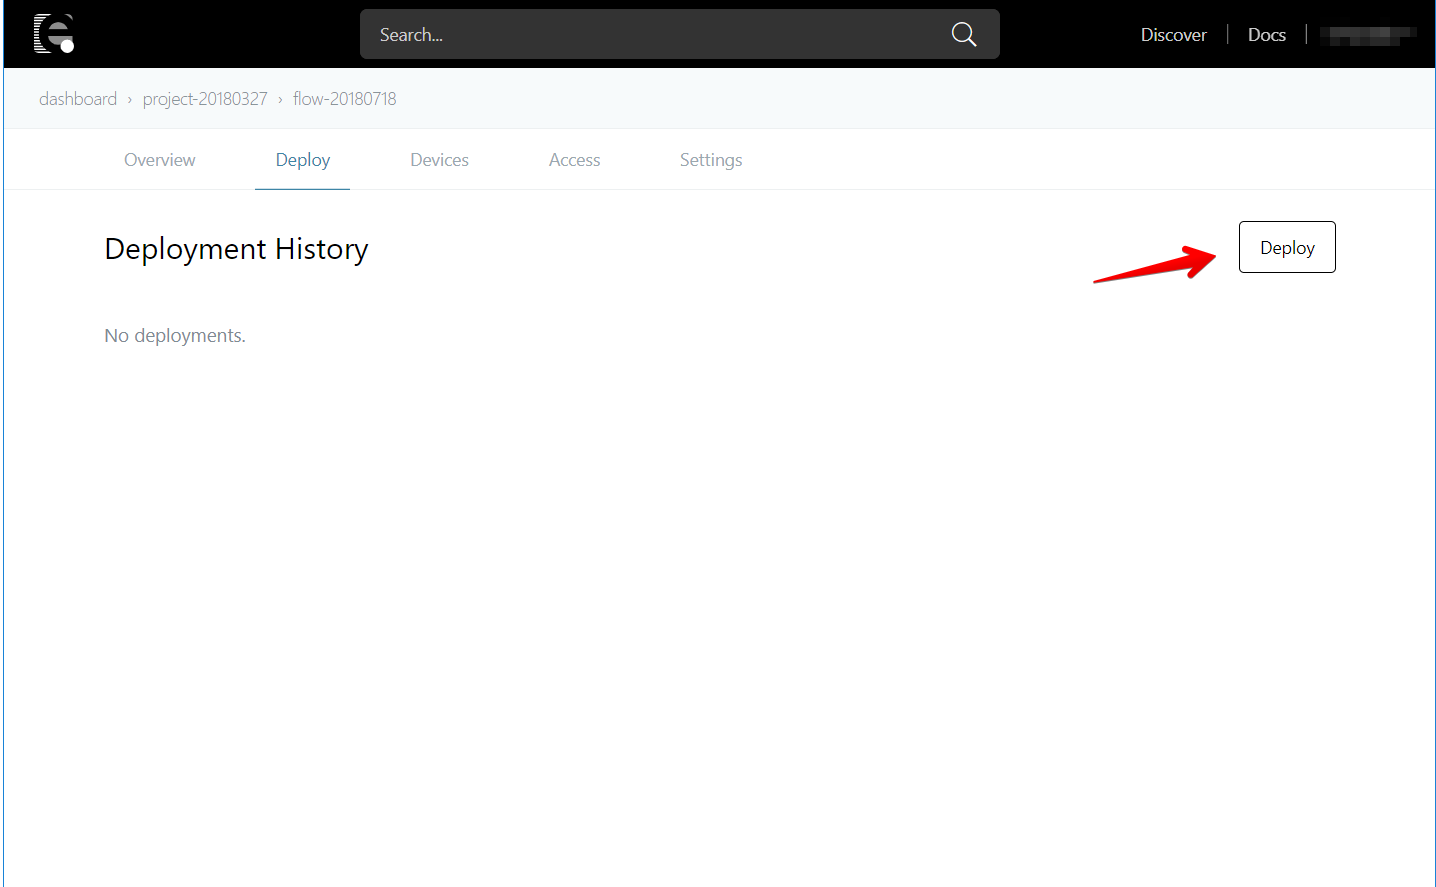
Deploy Settings
Configure your flow deployment by clicking on Deploy.
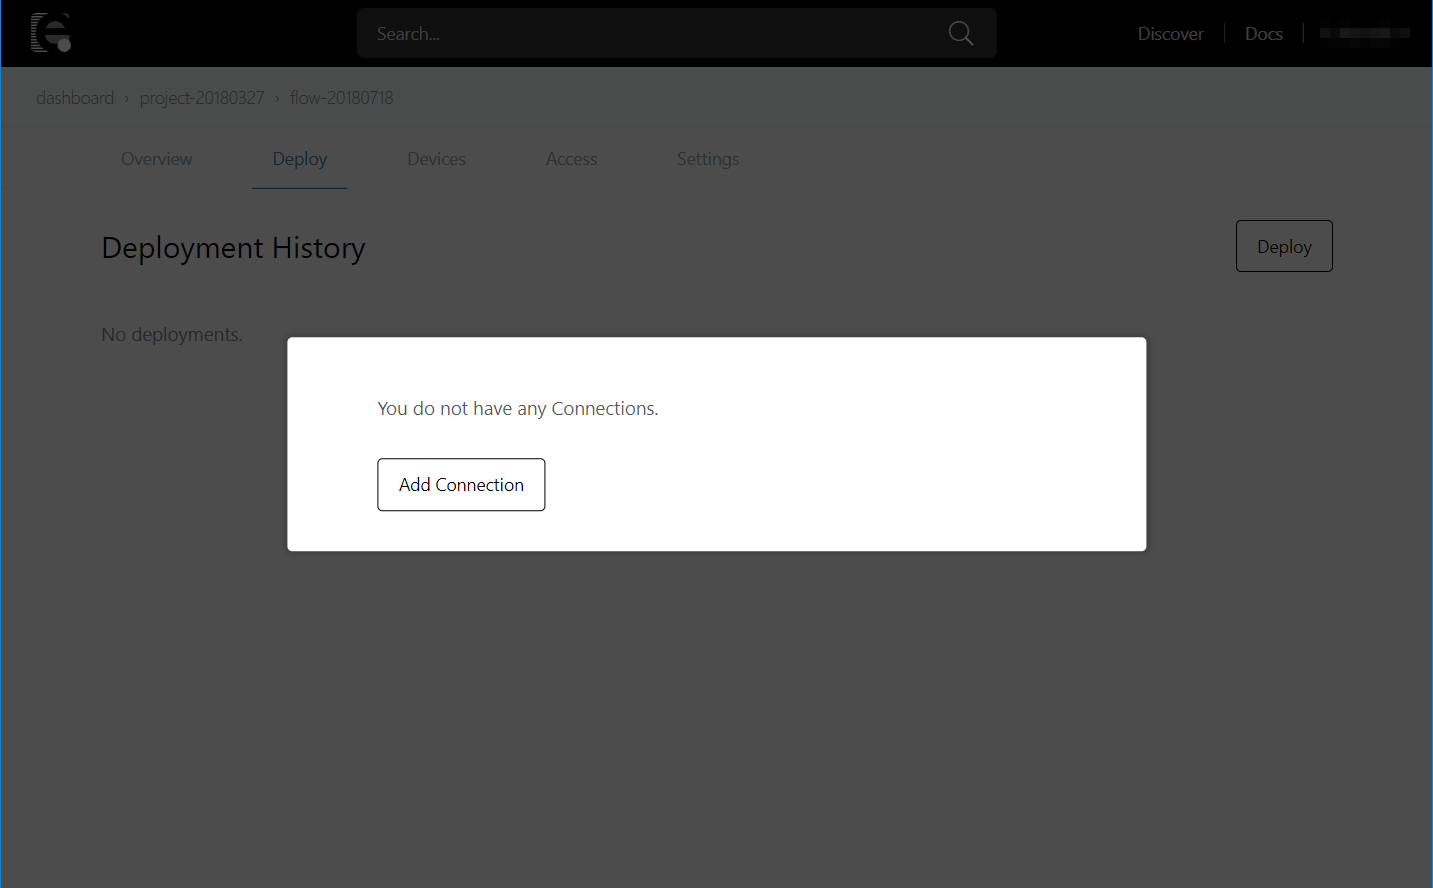
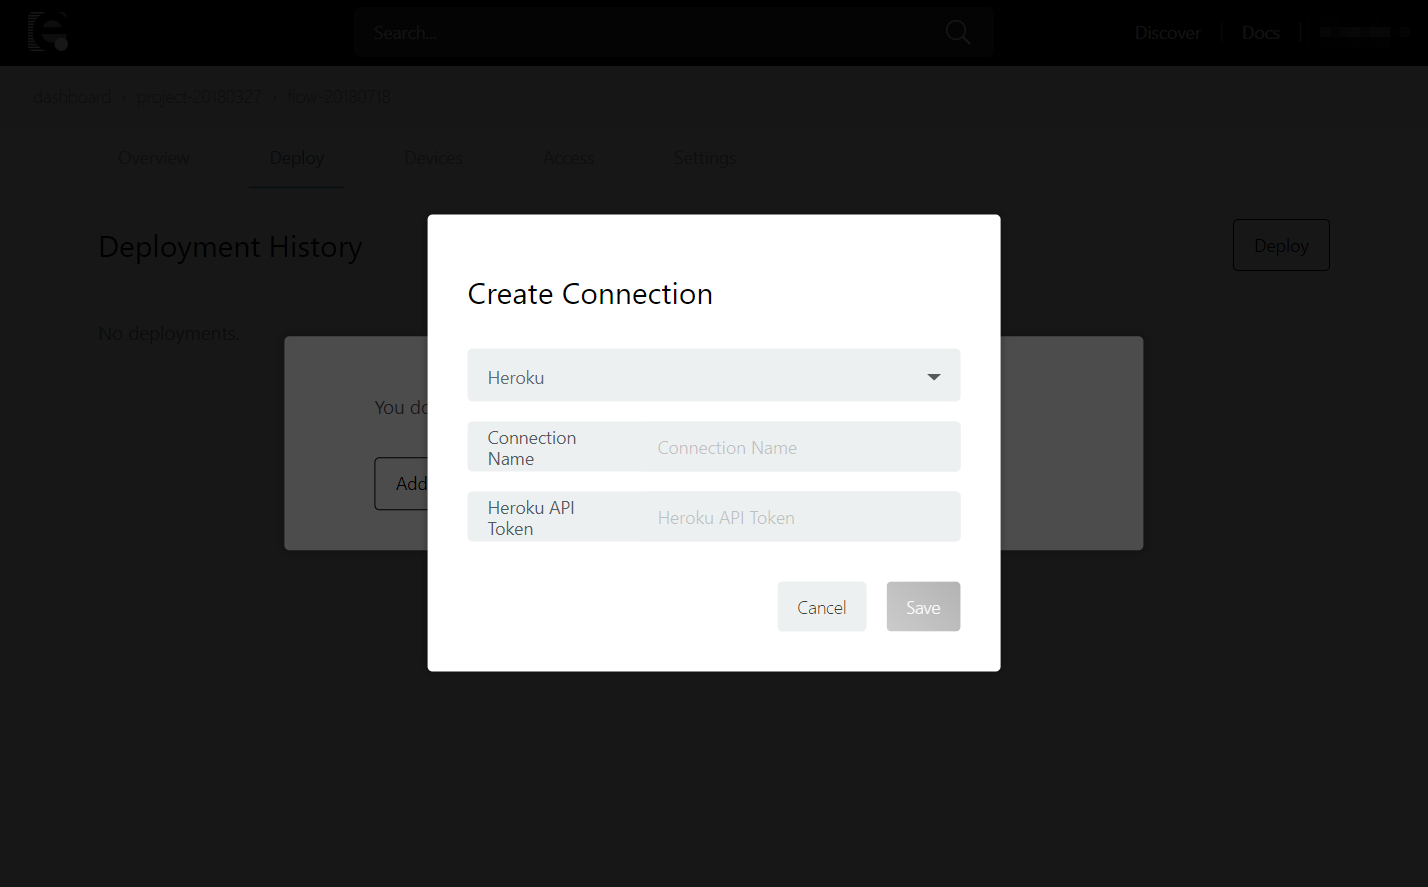
Click on the "Add Connection".
Select "Heroku" for "Select Connection Type".
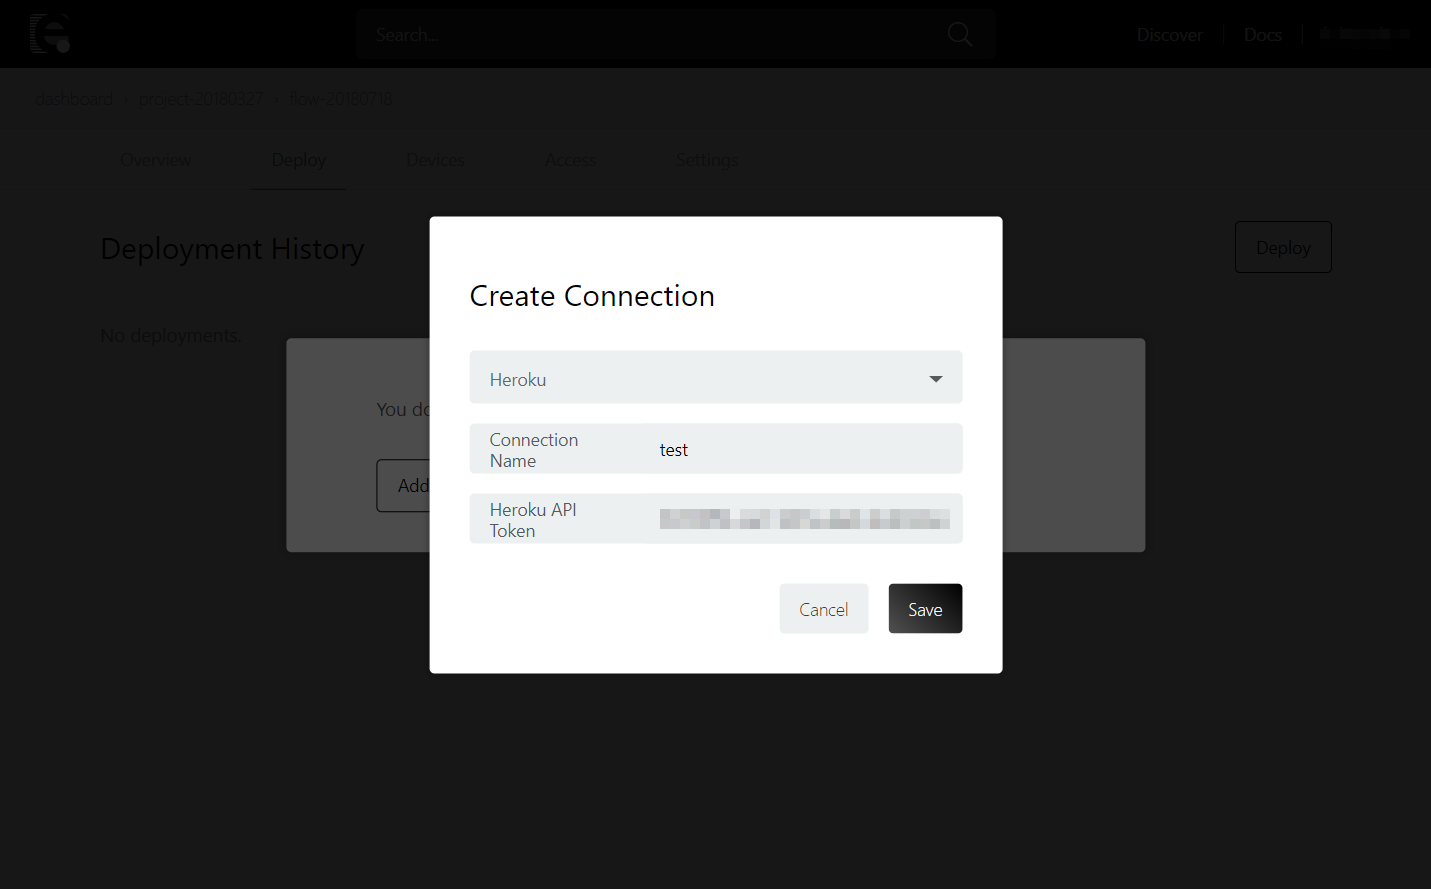
Input a "Connection Name". Get the "Heroku API Token" from the Heroku settings screen.
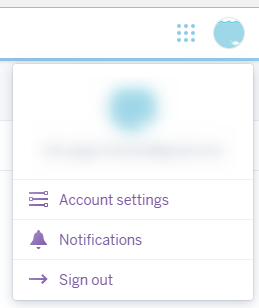
Click "Account Settings".
Go to "Account" on the "Manage Account" page.

Go to the API Key section and display the API Key with "Reveal".

Copy the API Key into "Heroku API Token" and click "Save".
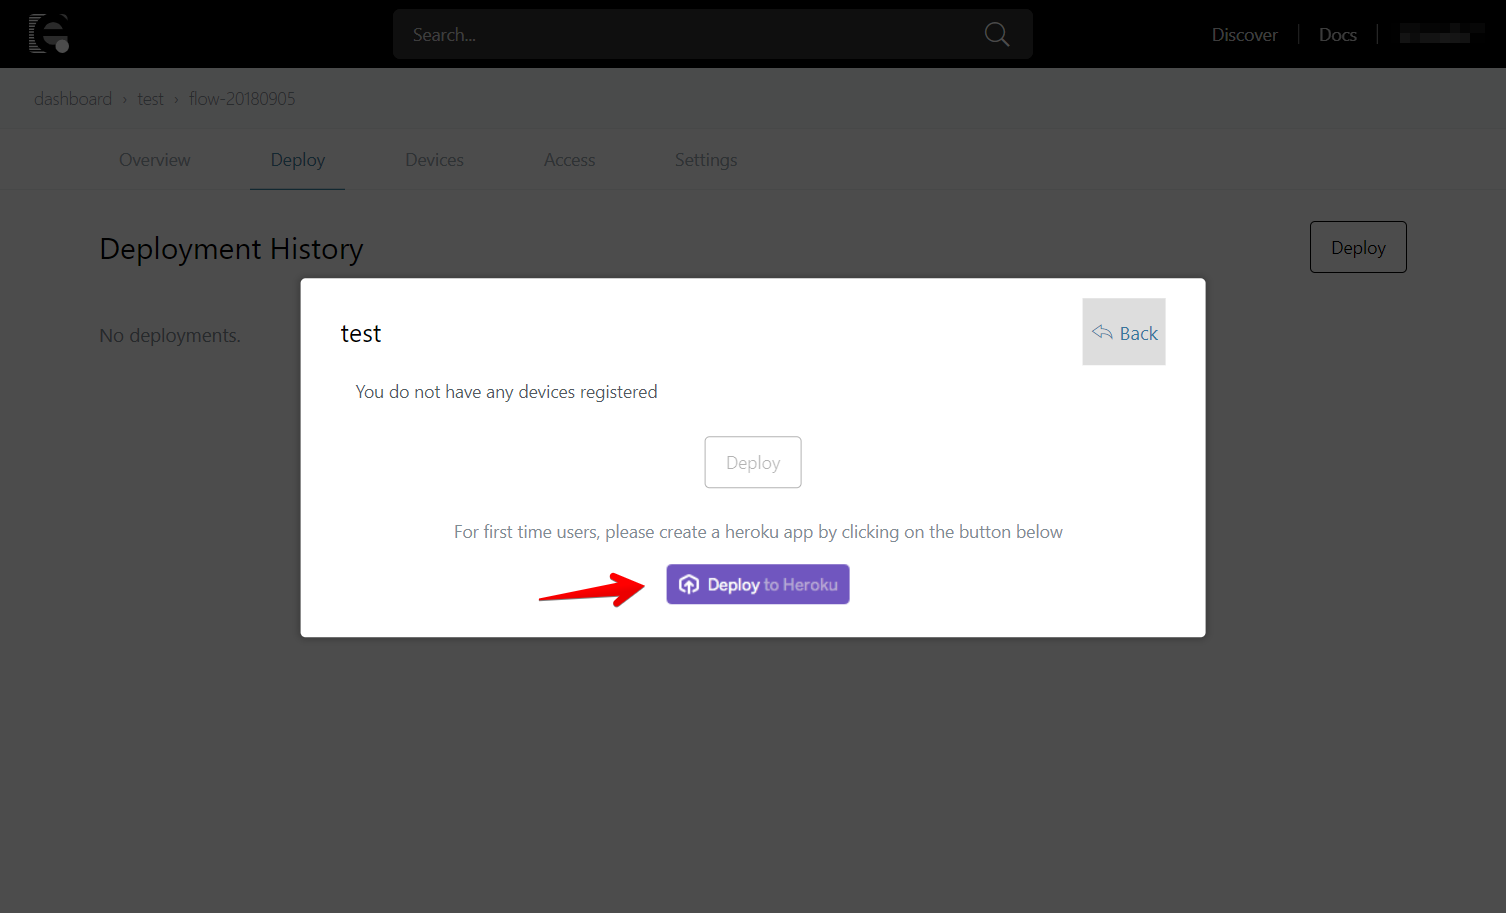
Click created connection.
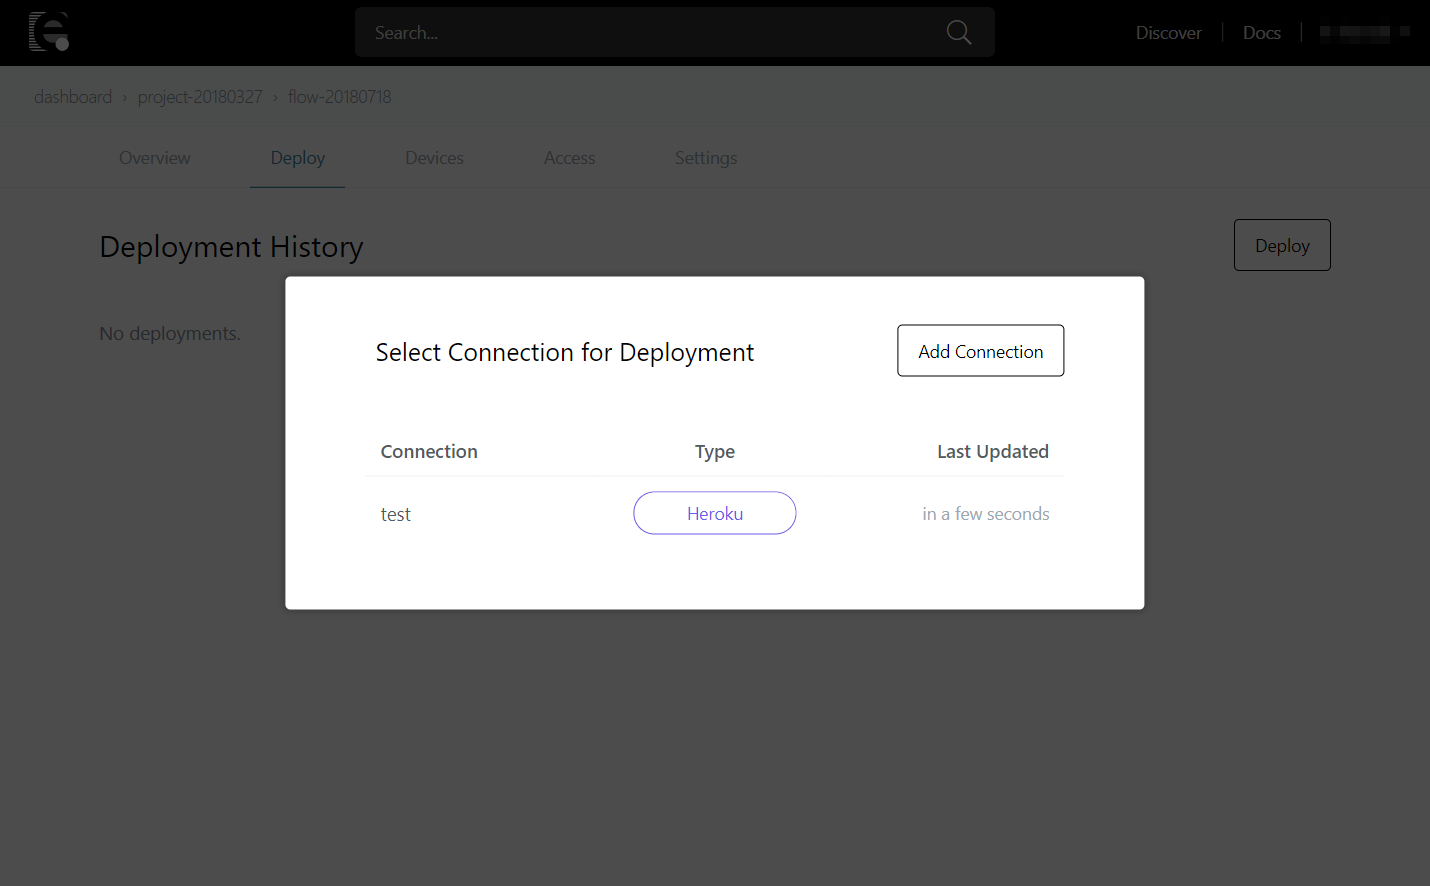
We can create a Heroku app from the "Deploy to Heroku" button on the bottom.
Creating an app with the Heroku Button
Use the Heroku button to create the app. This step can be skipped for those who have already created one.

After clicking on the Heroku button, if not logged in, log in with the Heroku login screen that appears.
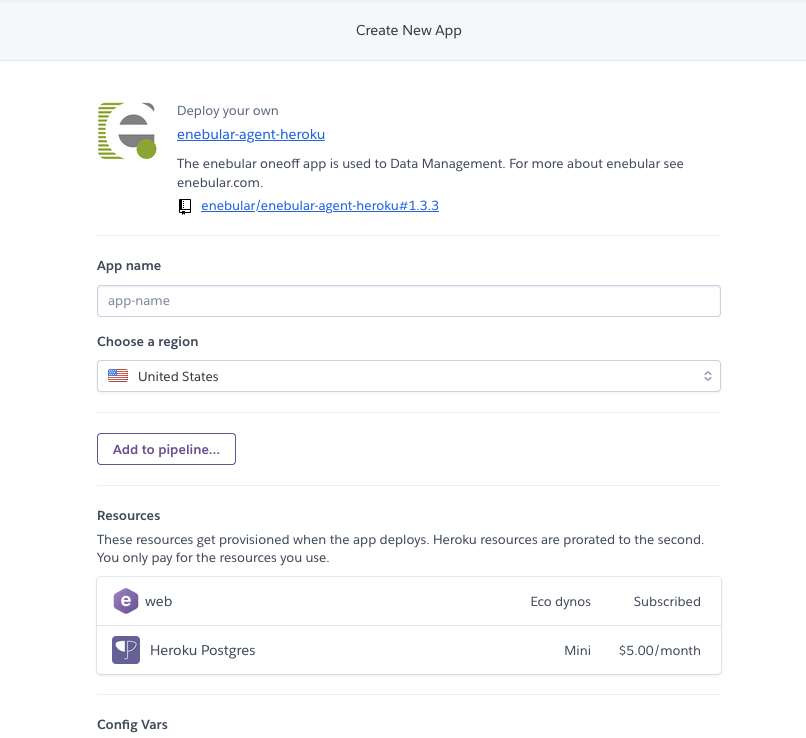
Heroku The Heroku app settings will be displayed.

Set the App name.
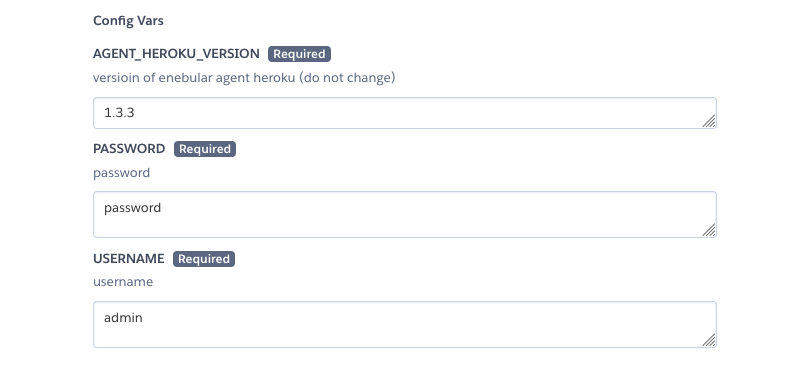
Set the USERNAME and PASSWORD to be used for login after the enebular Node-RED has been created.
After confirming the settings press the "Deploy" button. ¥
After confirming the settings click the "Deploy" button. If you haven't added your credit card information to heroku before, the following modal will show up. Using the Enebular app is free so one needs to not worry about Enebular charging.
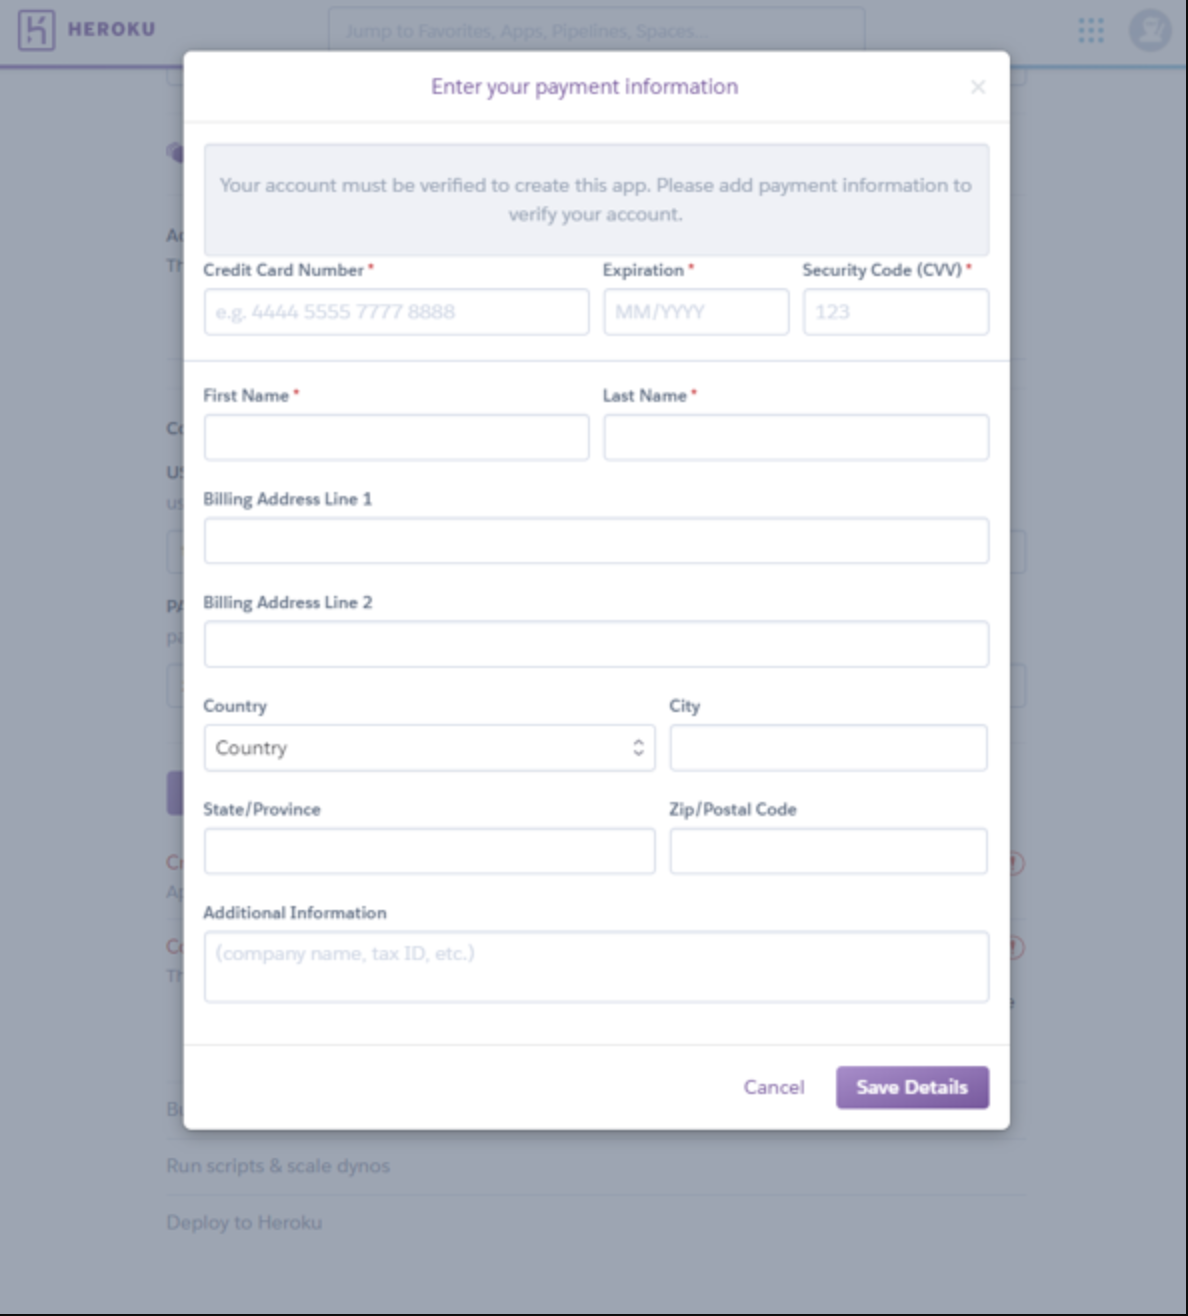
After registering the credit card, heroku will start setting up the app.
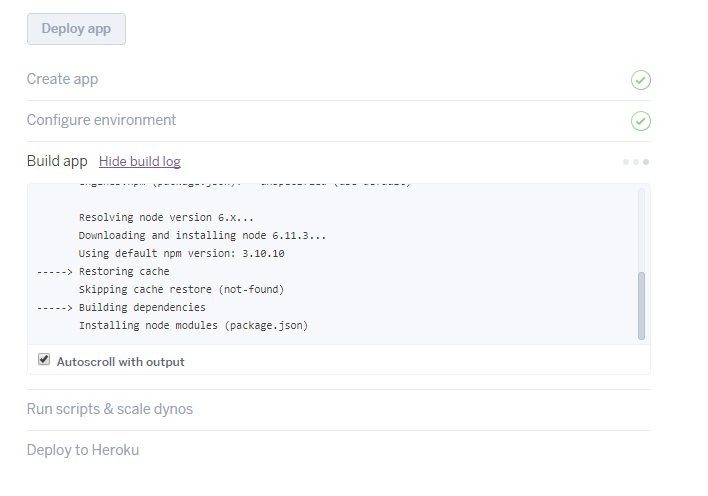
The app is being created...
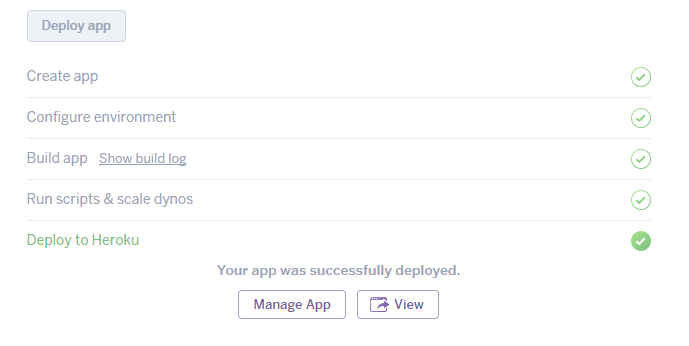
Once it has been created click the "View" button to check it.
You'll be asked to provide the USERNAME and PASSWORD to log into the enebular Node-RED, so enter those that you set above.
Deploying
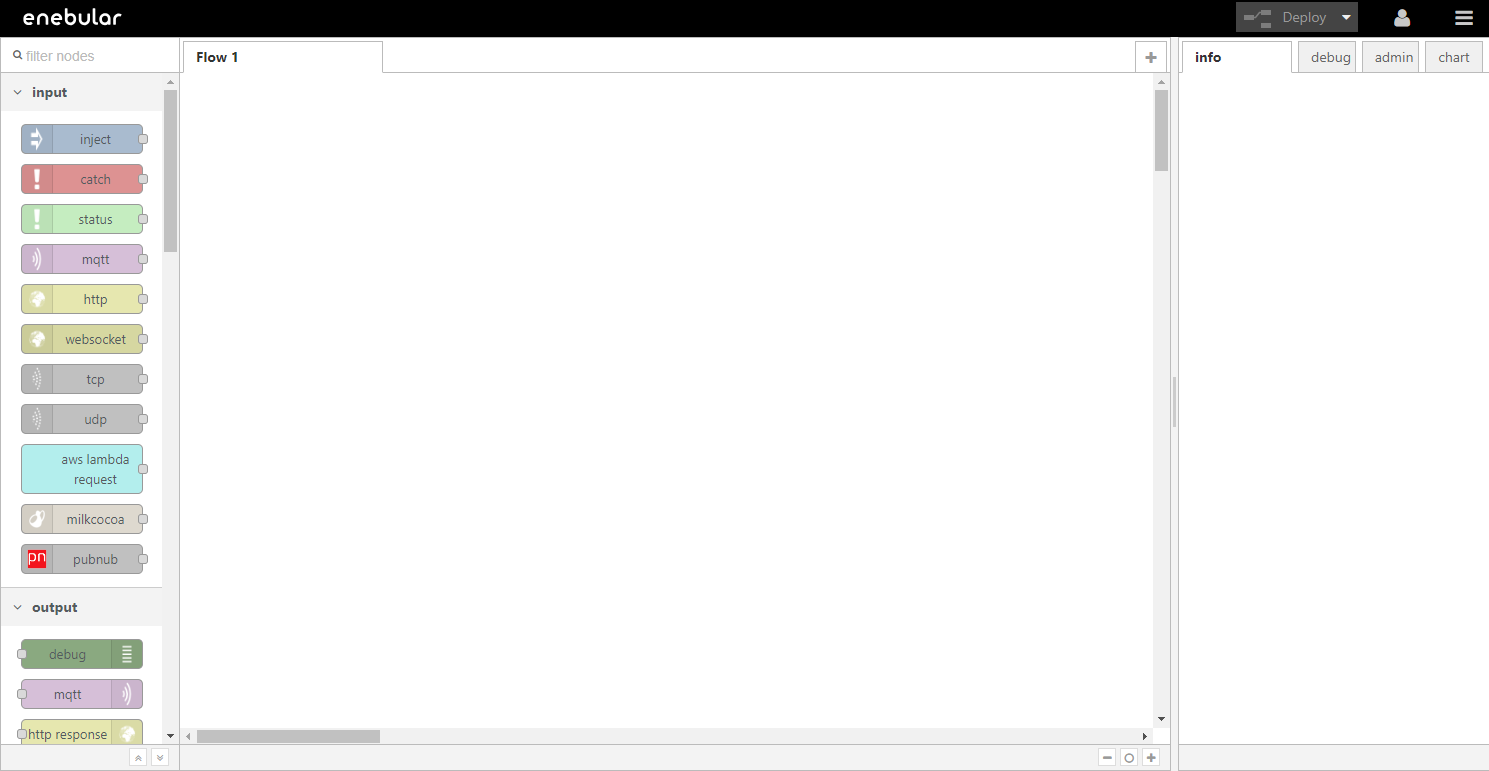
With the connection saved and Heroku selected as a "Connection Type", a list of the apps on the Heroku account should be displayed. From here, select the Heroku application you just created and press "Deploy".

Wait a moment for the "Deploy Added" to be displayed to confirm the app has been deployed.
If you check the Heroku app you will be able to see that the flow has been deployed.

Check the Heroku app to see if the flow has been deployed.
Well Done!
You can now deploy flows to other services with enebular.